| Page Created |
| November 14th, 2023 |
| Last Updated |
| June 8th, 2024 |
| Great Britain |
 |
| Included Operations |
| Operation Deer Operation Fog |
| Operational Areas |
| Special Air Service 6th Airborne Division Band Beach Sword Beach Gold Beach Juno Beach Omaha Beach Utah Beach 82nd Airborne Division 101st Airborne Division |
| Operations within Operation Overlord |
| Operation Gambit Operation Neptune Operation Perch Operation Epsom Operation Charnwood Operation Atlantic Operation Goodwood Operation Bluecoat Operation Totalize |
| June 6th, 1944 |
| Band Beach |
| Objectives |
- Neutralise the Houlgate Battery, when the Royal Navy fails to do so.
- Neutralise the Benneville Battery, when the Royal Navy fails to do so.
| Operational Area |
Area from the West break of Quistreham to the Western outskirts of Villers-sur-Mer, Normandy, France.
| Unit Force |
- No. 46 Royal Marine Commando
| Opposing Forces |
- The Merville Battery garrison: 1716 Artillerie Battalion of the 716. Infanterie-Division commanded by Oberleutnant Raimund Steiner
- The Houlgate Battery garrison: 3 Companie of the 1255 Heeres-Küsten-Artillerie-Abteilung (HKAA) commanded by Major Fritz Günther.
- The Benerville Battery garrison: 2 Companie of the 1255 Heeres-Küsten-Artillerie-Abteilung (HKAA) commanded by Major Fritz Günther.
| Operation |
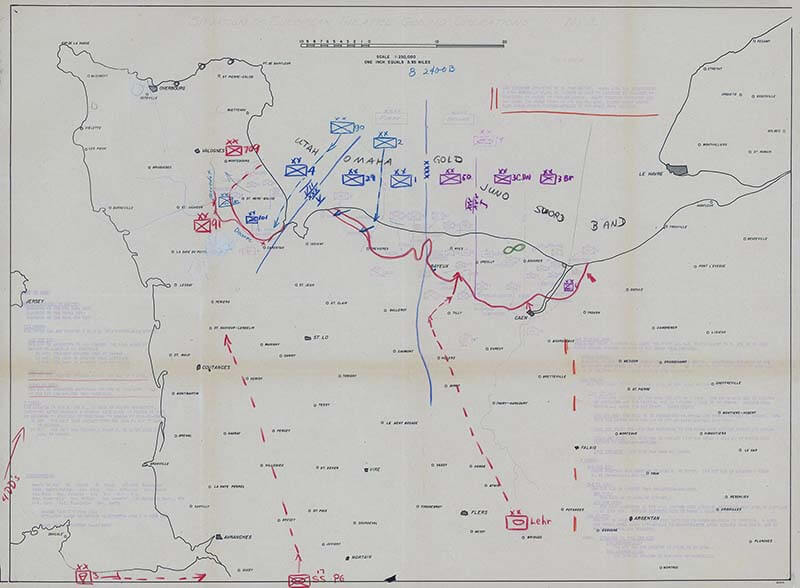
Band Beach is the intended location for two commando operations designed to protect Sword Beach to the west. Band Beach plays a critical role in the overall D-Day plan due to its strategic position east of the Orne River, which is covered by several formidable German batteries.
Band beach spans an area from the West break of Quistreham to the Western outskirts of Villers-sur-Mer, measuring almost 18 kilometres. The beach is divided in for zones. Able, Baker, Charlie and Dog.
The German defences along Band Beach area are formidable. Among the many gun batteries, three are particularly concerning: Merville, Houlgate, and Benerville. The Merville Battery, the nearest to the British landing zones, is a primary concern. Believed to house heavy-caliber guns, its potential to disrupt the British landings twelve kilometres west on Sword Beach is substantial. The Houlgate, and Benerville Batteries can cause a similar problem for the invasion forces. However, it is is not completely sure what gunrange of these batteries are.
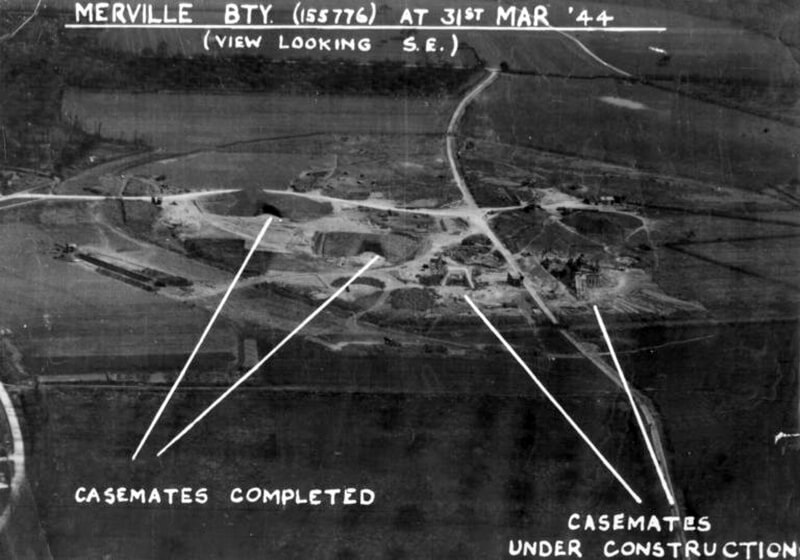
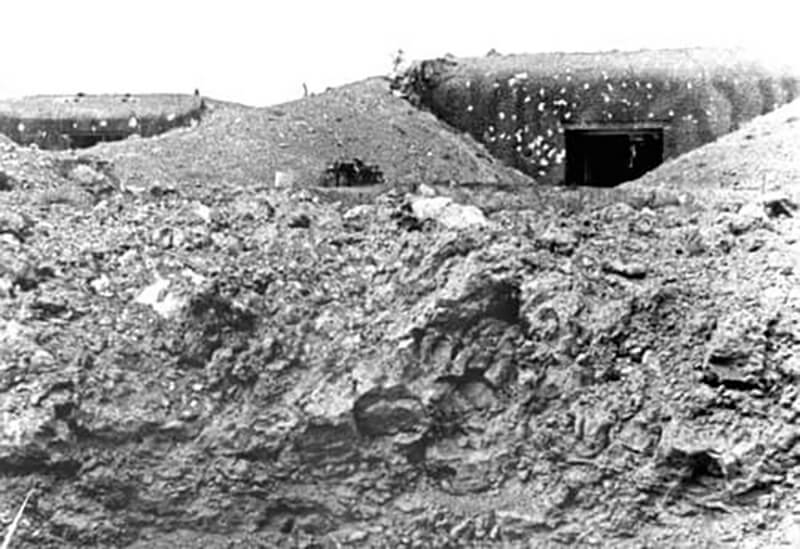
The Merville Battery is composed of four 1.8 metres thick steel-reinforced concrete gun casemates, built by Todt Organisation, a civil and military engineering group of Nazi Germany. Each casemate is designed to protect First World War-vintage Czech-made leFH 14/19(t) 100 millimetres mountain howitzers, which have a range of 8,400 metres. Other buildings on the site include a command bunker, accommodation for the men, and ammunition magazines. During a visit on March 6th, 1944, to inspect the defences, Field Marshal Erwin Rommel orders the builders to work faster, and by May 1944, the last two casemates are completed. The battery is defended by a twenty millimetres anti-aircraft gun and multiple machine guns positioned in fifteen-gun emplacements. The entire area, measuring 640 by 460 metres, is surrounded by two barbed wire obstacles 4.6 metres deep and 1.5 metres high. This barbed wire also marks the exterior border of a ninety-one metres deep minefield. An additional obstacle is an anti-tank ditch that covers any approach from the nearby coast. The Merville Battery garrison is the 1716 Artillerie Battalion of the 716. Infanterie-Division commanded by Oberleutnant Raimund Steiner
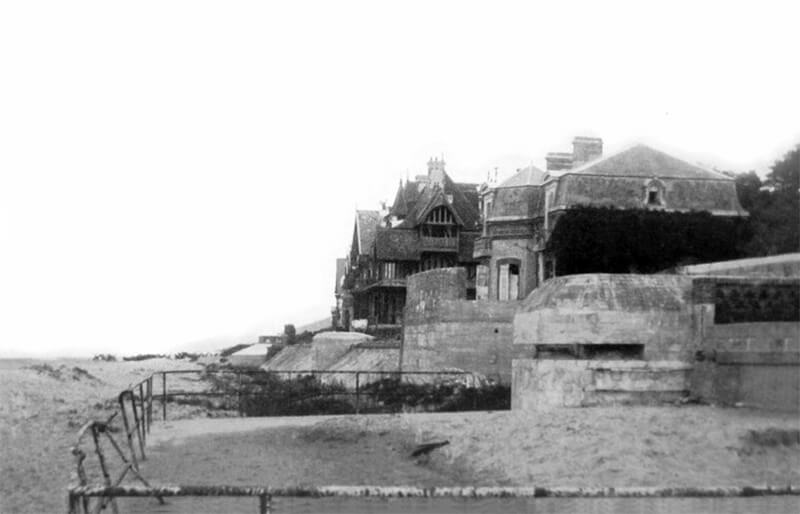
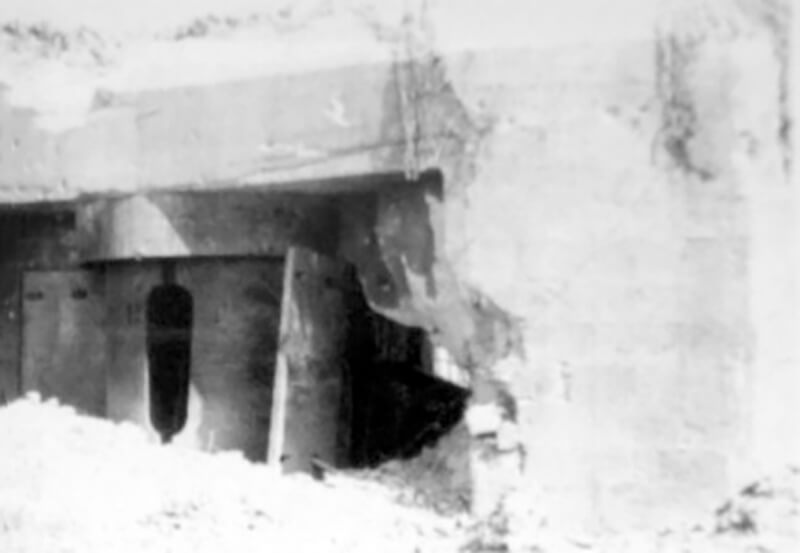
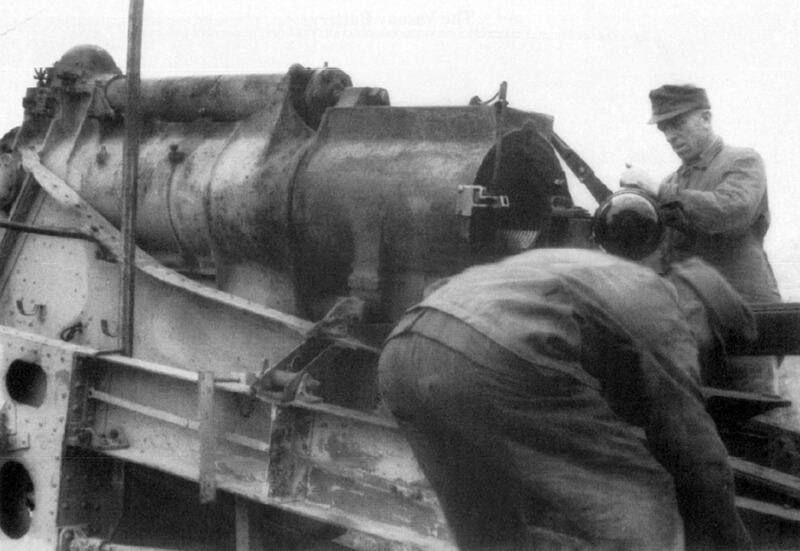
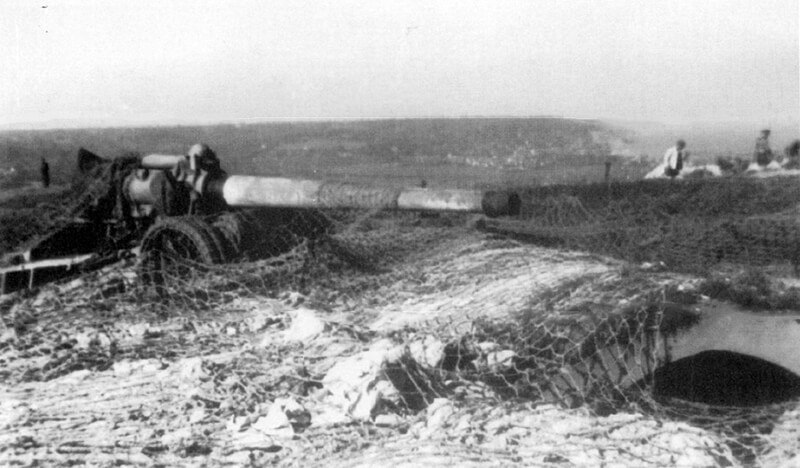
The Houlgate Battery, perched atop 90-metres-high cliffs, is constructed in 1941. The design features robust concrete pits specifically constructed to house six captured 155 millimetres K420 cannons, artillery pieces of French origin dating back to World War I. The pits are designed to shield the cannons from aerial and naval bombardment, ensuring their operational readiness in defending the coast. Each concrete pit housing these cannons is interconnected through a network of tunnels leading to ammunition stores. This design facilitates efficient resupply and protection of munitions. Additionally, a sophisticated communication system, including a range-finding post, is established to coordinate targeting and enhance the battery’s effectiveness. The Houlgate Battery garrison is 3 Companie of the 1255 Heeres-Küsten-Artillerie-Abteilung (HKAA) commanded by Major Fritz Günther.
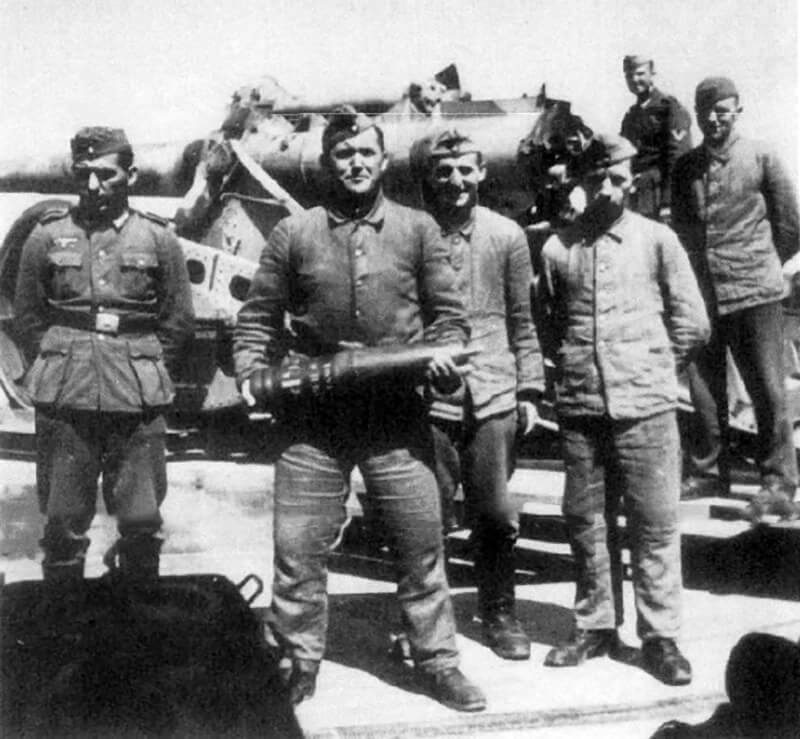
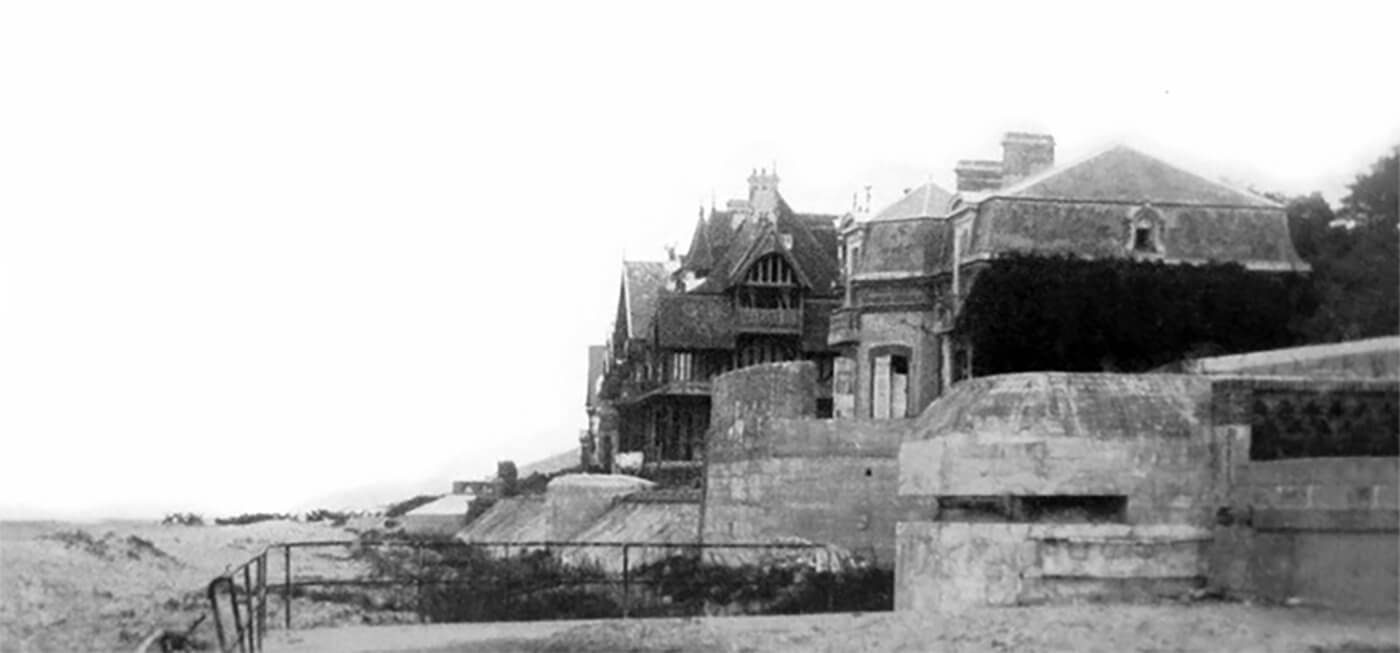
The Benerville Battery, also known as the Mont Canisy Battery, is located eight kilometres further east. It also comprises of 155 millimetres guns, threatening the eastern flank and Allied naval operations. In 1942, the Germans construct this twenty-five-hectare bunker complex, designated as Wiederstandsnest WN VIll 013, or resistance nest, near the Normandy coast. This strongpoint is built to house six captured French First World War-vintage 155 millimetres guns cannons, playing a key role in the German coastal defences. By January 1944, the Germans have enhanced the complex, adding two casemates to protect two of the artillery pieces from the increasing Allied bombings. This complex becomes a well-fortified installation, featuring multiple defensive structures and facilities. It includes several casemates, 25 ammunition bunkers, and 25 barracks, providing both storage and accommodation for the garrison. Additionally, defensive mortar pits and Tobruks, fitted with machine guns are strategically placed to repel any attacking forces.The Benerville Battery garrison is 2 Companie of the 1255 Heeres-Küsten-Artillerie-Abteilung (HKAA) commanded by Major Fritz Günther.
The entire complex is interconnected by 250 metres of tunnels, facilitating rapid movement and communication between different parts of the strongpoint. A post fire control bunker was also integrated into the complex, allowing for coordinated and effective artillery fire control.
| The Plan |

Band Beach’s purpose is to support the landings at Sword Beach by neutralising the three main German artillery positions that could threaten the eastern flank of the invasion.
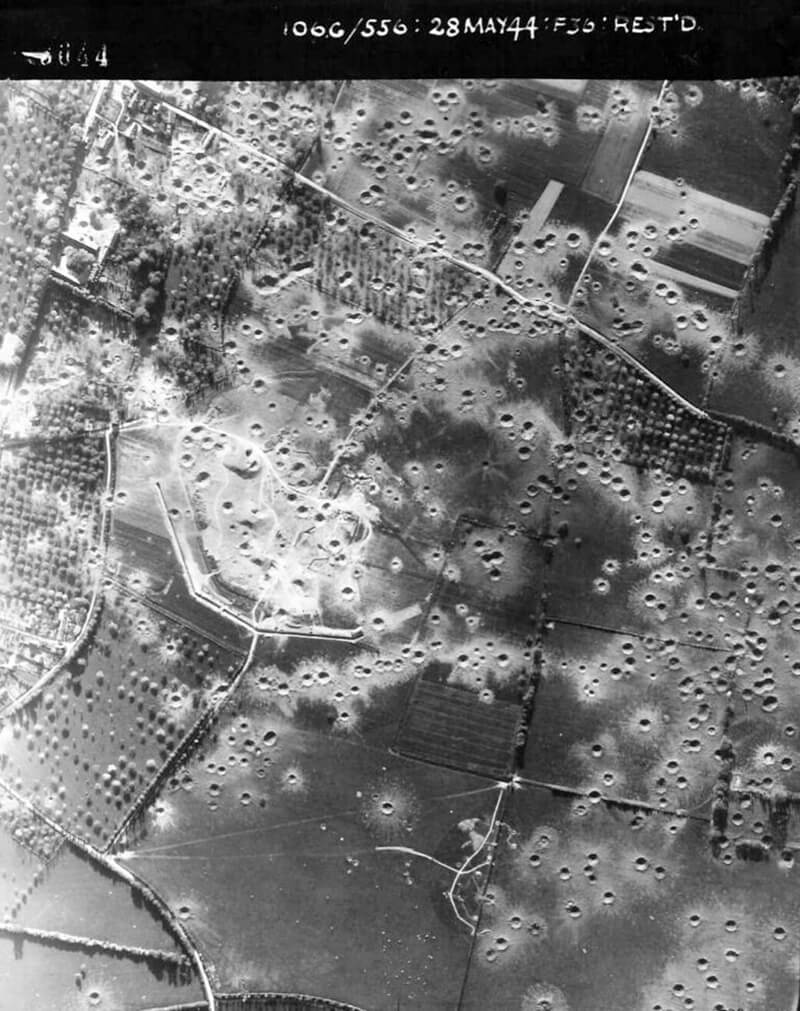
In the weeks leading up to D-Day, American B-26 Marauders will target the three batteries in order to destruct or damage them prior to invasion.
In the early hours of June 6th, 1944, elements of the British 6th Airborne Division are dropped near the Merville Battery and neutralise it.
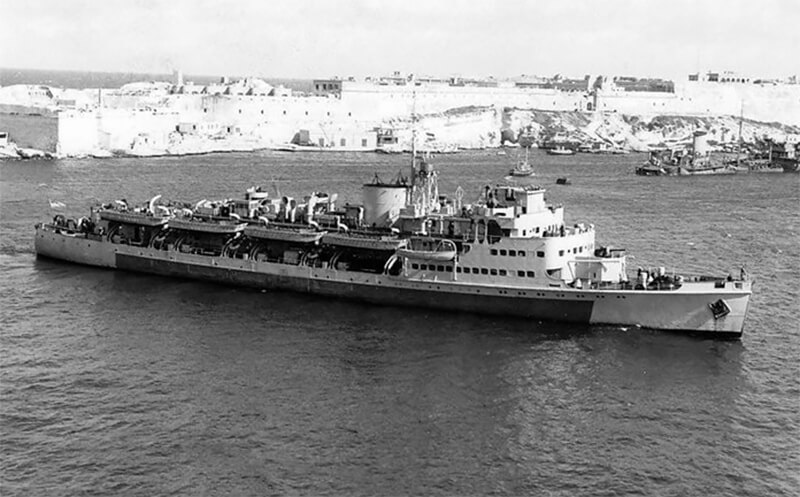
On D-Day, the Royal Navy will target the two other batteries. The H.M.S. Roberts, (F40) a Roberts-Class monitor, and H.M.S. Mauritius, (C80) a Fiji-Class light cruiser, will bombard the Holgate Battery, while the H.M.S. Ramillies, (07), a Revenge-Class super-dreadnought battleship will focus on the Benneville Battery. The H.M.S. Arethusa and Arethusa-class light cruiser would when needed attack the Merville Battery.
In case the bombardments fail two commando operations are developed to take out the threat of the two batteries. Operation Frog, targeting the Houlgate Battery and Operation Deer focusing on the Benerville Battery. In the initial stages of planning, No. 4 Commando is tasked to neutralise the two batteries, but this unit is assigned to another task during the D-Day landings. The mission is taken over by No. 46 Royal Marine Commando which is also the Reserve unit.
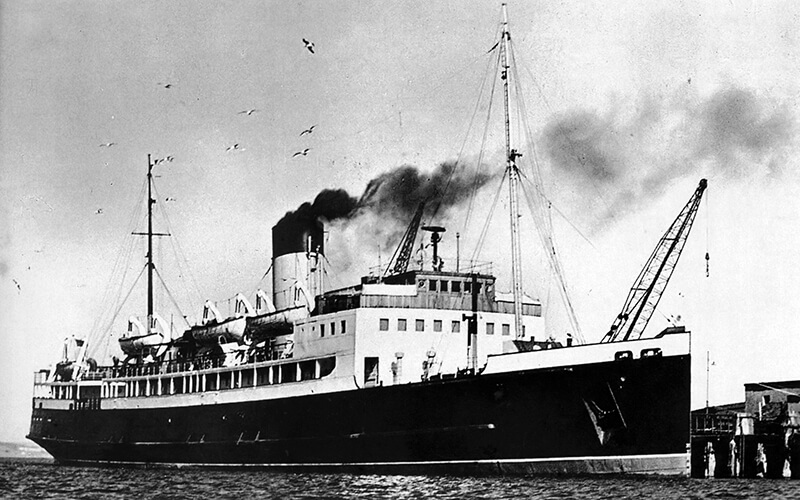
No. 46 Royal Marine Commando, is a battalion-sized unit, compromising of almost 1,000 Royal Marine Commandos. The are transported on Landing Ship Infantry, (Small), the H.M.S. Prince Albert, carrying eight Landing Craft Assault and Landing Ship Infantry (Hand-Hoisting), H.M.S. Princess Margaret, carrying six Landing Craft Assaults. The ships are escorted and supported by one Harbour Defence Motor Launch, two rocket-armed tank landing craft and two Landing Craft, Support, large when possible and available a Landing Craft Assault (Obstacle Clearing) is made available to the assault force.
Both operations are scheduled for 02:00 on June 7th, 1944, after an eventual failure of the naval bombardment planned for D-Day itself.
| April 23rd, 1944 |
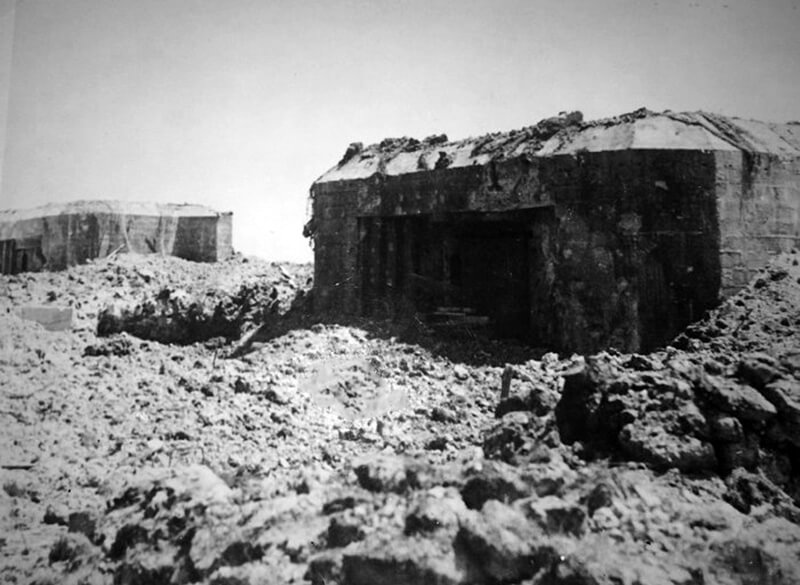
During this bombing raid, a 500-pound bomb strikes a tunnel, leading to the explosion of an adjacent storage room filled with ammunition. The resulting blast injures at least 40 German soldiers and causes considerable chaos within the German ranks. In the same attack, the western H679 casemate, still under construction, sustains a direct hit. The impact cracks the foundation of the casemate, rendering it structurally unsound. Consequently, this bunker is never completed, marking a small but notable disruption in the German fortifications along the coast.
| May 19th, 1944 |
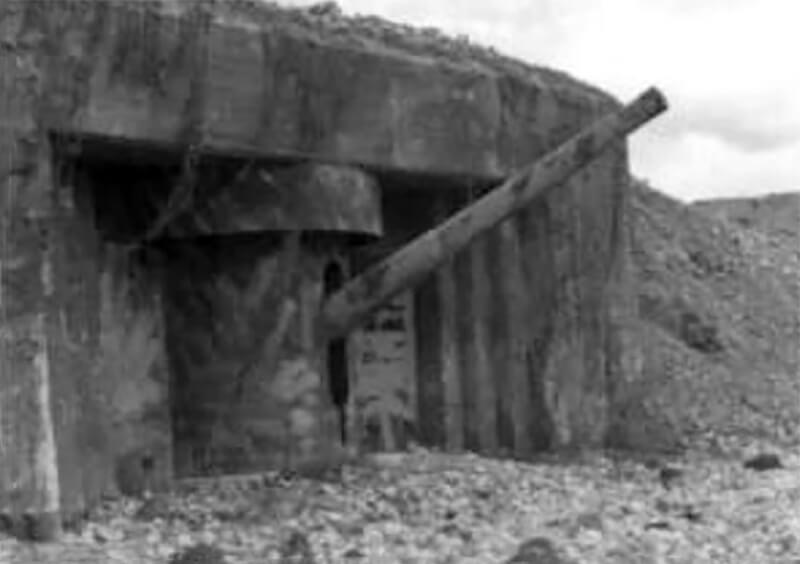
Another bombardment takes place on the Benerville Battery. During this attack, the first casemate is struck, resulting in severe damage to the 155 millimetres gun housed within it. Meanwhile, a second casemate, which is still awaiting the installation of its cannon, is also hit. Although it is prepared for the placement of the gun, the damage from the bombardment ensures that it never receives its weapon.
| June 1st, 1944 |
No. 46 Royal Marine Commando (less Admin Section) leaves Shanklin Transit Camp at the Isle of Wight by rail and embarks at Egypt Point, Cowes, Isle of Wight, in Landing Ship Infantry, (Small), the H.M.S. Prince Albert and Landing Ship Infantry (Hand-Hoisting), H.M.S. Princess Margaret with full equipment for alternative operations.
| June 6th, 1944 |
As D-Day arrives, the effectiveness of these pre-invasion bombings becomes evident. Of the German artillery Benerville Battery originally intended to fortify the coast, only four 155 millimetres guns remain operational. Two of these guns are positioned on open platforms, exposed and vulnerable to further attacks, while the other two are protected within the remaining intact casemates.
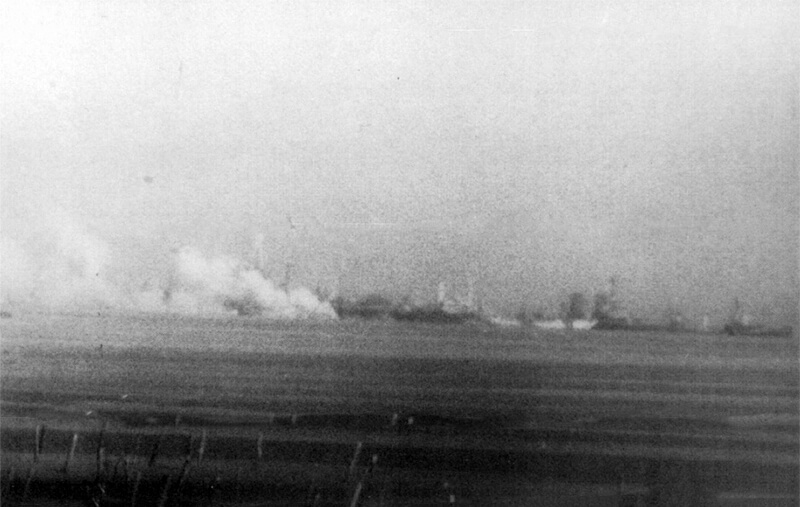
At 05:23 in the morning, the naval bombardment begins. The H.M.S. Roberts opens fire on the Houlgate Battery from 18 kilometres offshore, unleashing 27 15-inch shells. Despite the intense bombardment, the concrete casemates and strategic positioning of the guns result in minimal damage. The H.M.S. Ramillies targets Benerville Battery, successfully knocking out four of the six guns in an 80-minute barrage with 15-inch shells, only the guns in the casemats remain operable. By evening, these remaining two guns at the Benneville Battery are silenced.
Just before the naval bombardment starts, around 05:00, 150 British paratroopers of the 9th Parachute Battalion attack Merville Battery. Lieutenant Colonel Terence Otway leads the assault on the Merville Battery to neutralise its threat to Sword Beach. The operation begins with explosives detonating to create paths through the battery’s defences, alerting the Germans who respond with heavy fire, causing many casualties among the British paratroopers. Despite this, some manage to reach and attack Casemate Four with grenades and gunfire. Other casemates are cleared using fragmentation and white phosphorus grenades.
During the assault, 22 Germans are killed, and 23 are captured, but many Germans escape by hiding in underground bunkers. German commander Colonel Steiner, away at a command bunker, rushes to Merville Battery but cannot enter due to intense British fire. Meanwhile, a reconnaissance patrol with a half-track anti-aircraft gun arrives and engages the paratroopers.
With the battery in British hands but lacking sufficient explosives, the paratroopers use their limited plastic explosives to try and disable the guns. In a desperate attempt to disrupt the British landings, the German commander at Merville Battery requests the Holgate Battery to fire on his position, adding to the chaos when the surviving paratroopers leave the battery and head for their next target.
After the British paratroopers leave the Merville Battery, the battery is reoccupied by the Germans try to make the damaged guns operational again.
Meanwhile, around 12:30, the ships carrying No. 46 Royal Marine Commando form up off the Isle of Wight, sailing towards Normandy. At 18:30, the convoy arrives at anchorage at Juno Beach (off St. Aubin-sur-Mer) and proceeds one hour later to anchorage of Sword Beach (off Ouistreham) near the town of Wistram at 19:30 hours and they report to the Flag Officer, Force S. Here, they prepare for their night-time assaults on Band Beach. However, the commander of Force S, overseeing the bombardment group, assesses the situation and decides around 22:00 that the landings are unnecessary. Benerville’s guns Battery are already destroyed, and the Houlgate Battery is not causing significant problemssince its guns are probably out of range of the invasion beaches and ships. The poor sea state further complicates the decision, leading to the cancellation of Operations Frog and Deer.
The convoy leaves the Sword Beach area and anchors off Juno Beach for the night.
| June 7th, 1944 |
During the morning, a signal is received at 06:00 instructing No. 46 Royal Marine Commando to come under the command of the 1st Corps and land on Nan White Beach as soon as possible. This prompts a series of hasty re-adjustments and improvisations to their equipment to prepare for the imminent landing. The place of these preparations is Bernières-sur-Mer, grid reference 002853.
By 09:00, No. 46 Royal Marine Commando successfully lands by the ship’s flotillas on Nan White Beach. Upon landing, they receive orders to capture the strongpoint in the Petit Enfer area. This mission is crucial as securing Petit Enfer is key to advancing inland and supporting the broader objectives of the D-Day invasion.
During the morning, shells start falling on the beaches of Ouistreham Riva-Bella, to the east of the Orne estuary. The British High Command, believing that the fire was coming from the Merville Battery, decided to launch a new operation against it .No. 4 Troop and 5 Troop of No. 3 Commando, under the command of Major John Pooley, carry out another attack on the Merville Battery. Approaching from Le Plein to the south, No. 4 Troop moves across open ground before taking up position behind the hedgerows 250 metres from the battery. From there, they lay down covering fire for No. 5 Troop, which approaches from the east with fixed bayonets.
After a stubborn German defence, during which a number of Commandos, including Major Pooley, are killed, the Commandos take the battery. However, shortly afterward, they are counterattacked by a German force supported by half-tracks and self-propelled artillery. Casualties during this German counter-attack are high, and eventually, the Commandos are forced to withdraw back to La Plein.
| Multimedia |