Page Created |
November 7th, 2023 |
Last Updated |
March 10th, 2024 |
Country |
![]() |
Additional Information |
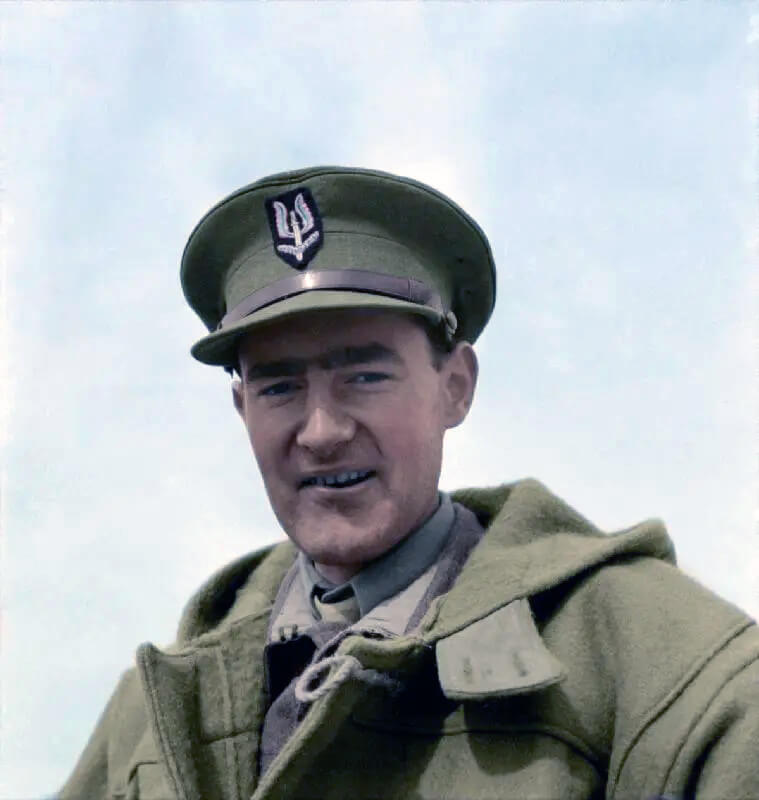
Special Air Service Order of Battle Commanders Operations Equipment Multimedia Sources |
Video |
![loading](https://worldwar2-sof.com/wp-content/plugins/youtube-embed-plus-pro/images/gallery-page-loader.gif)
![play](https://worldwar2-sof.com/wp-content/plugins/youtube-embed-plus-pro/images/playhover.png)
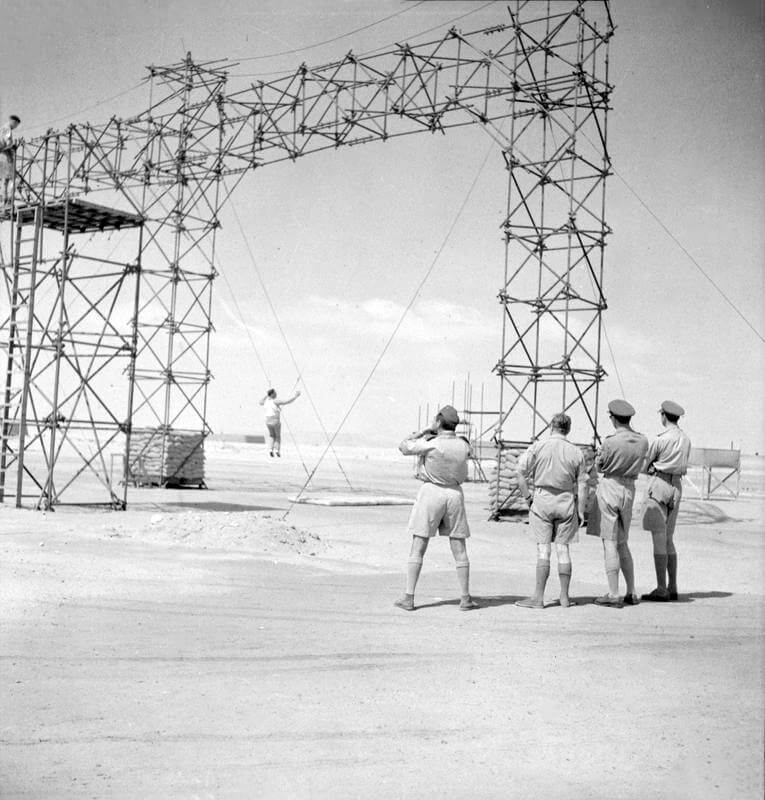
Parachute demonstration at Kabrit, Suez for General Auchinleck of the Special Air Service.
![play](https://worldwar2-sof.com/wp-content/plugins/youtube-embed-plus-pro/images/playhover.png)
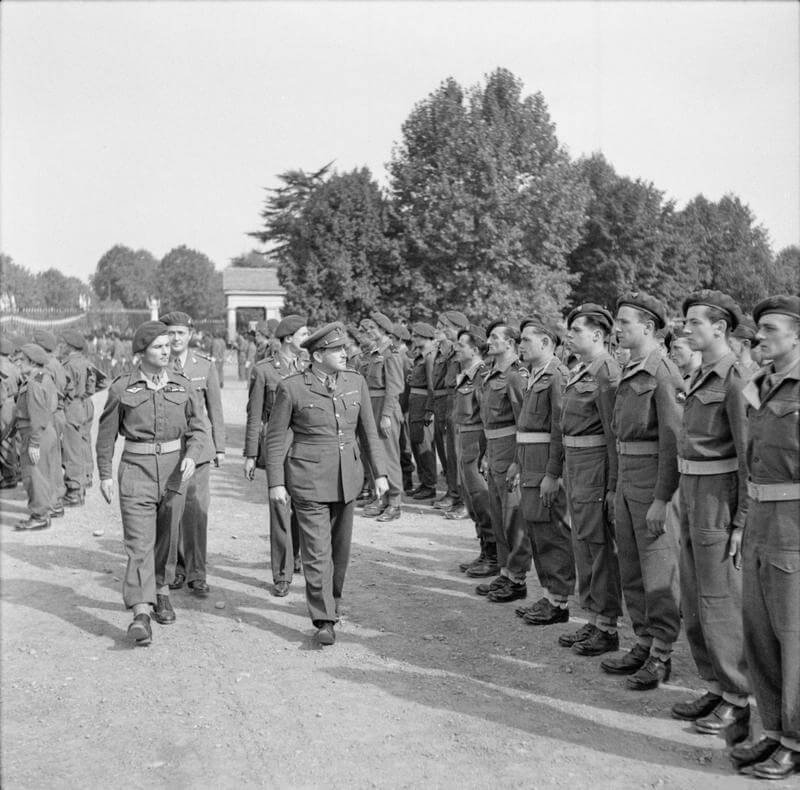
General Montgomery inspecting the Special Air Service, Parachute Chasseur Regiment.
![play](https://worldwar2-sof.com/wp-content/plugins/youtube-embed-plus-pro/images/playhover.png)
Who Dares Wins, Special Air Service puts on a fire-power demonstration, December 18th, 1944.
![play](https://worldwar2-sof.com/wp-content/plugins/youtube-embed-plus-pro/images/playhover.png)
Device, Camouflage, No. 15 (Rupert) Drop
![loading](https://worldwar2-sof.com/wp-content/plugins/youtube-embed-plus-pro/images/gallery-page-loader.gif)
Photographs |
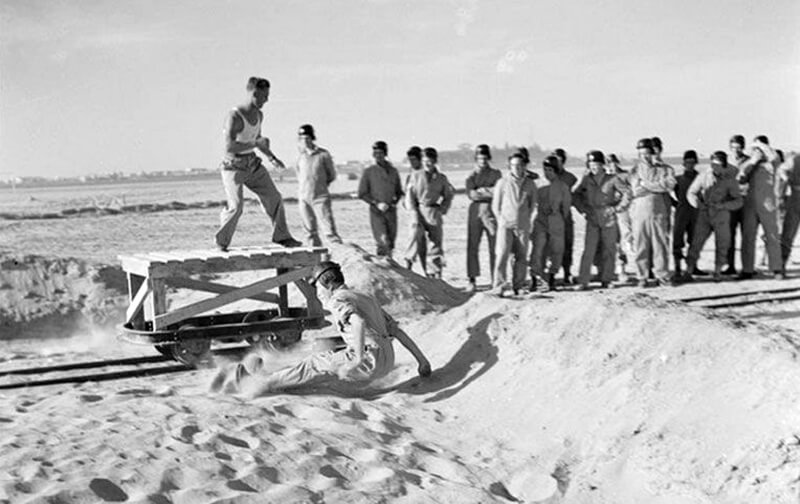
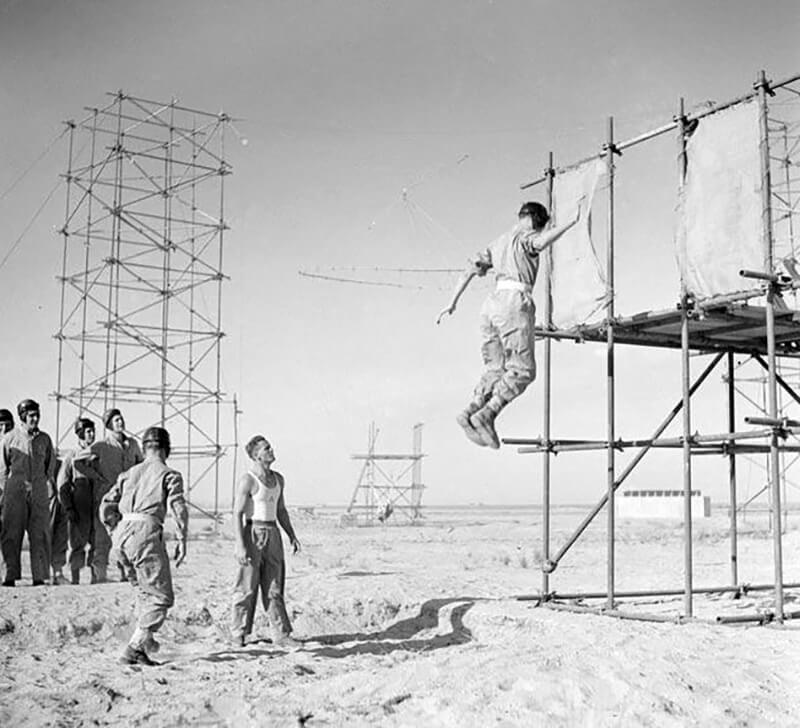
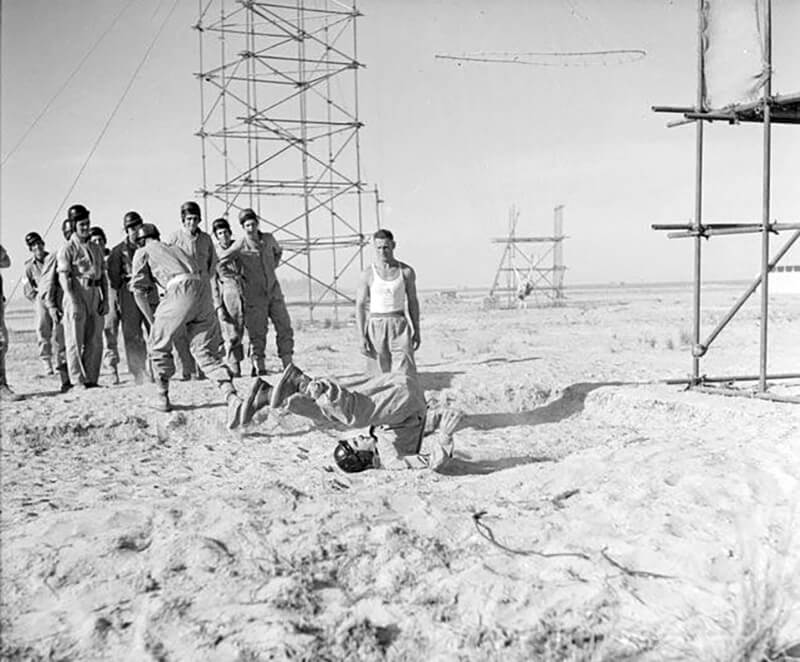
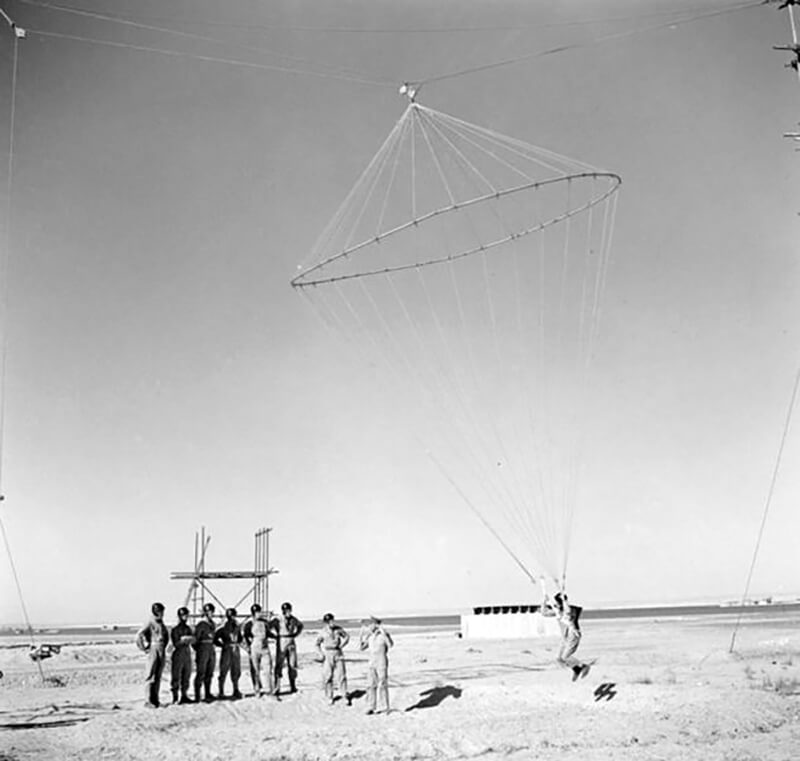
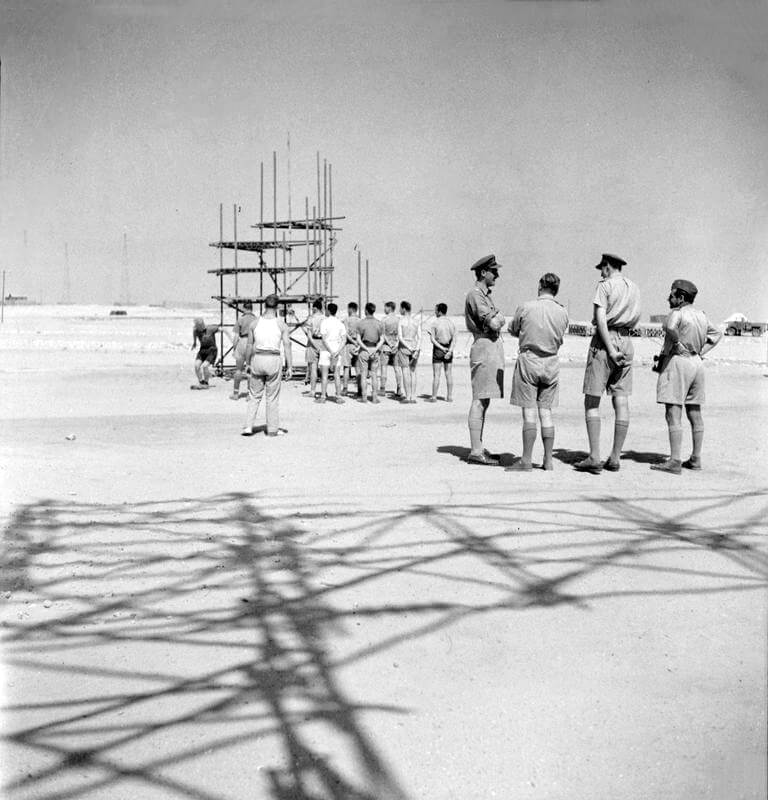
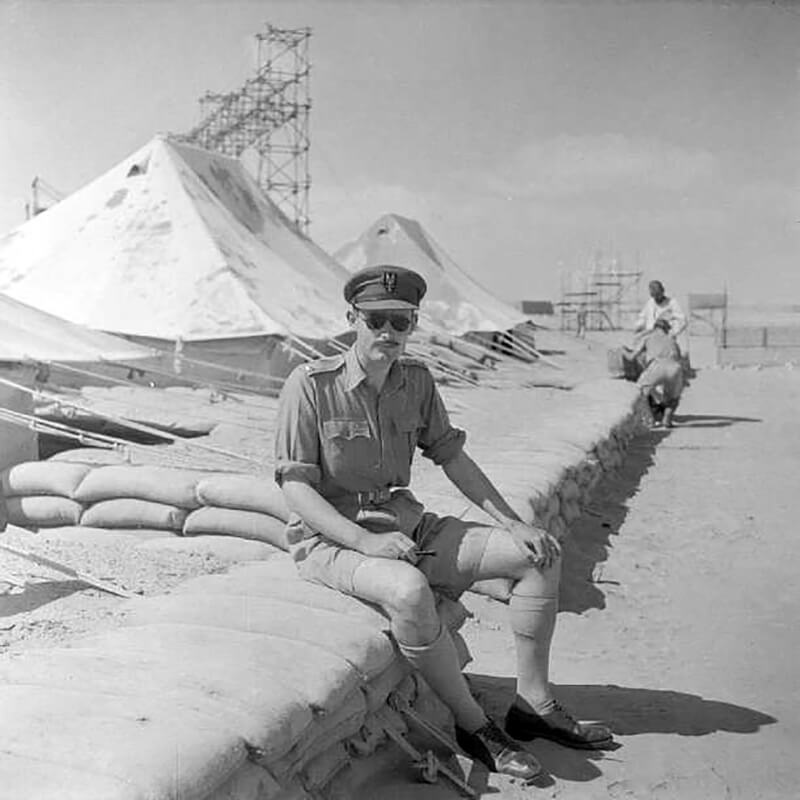
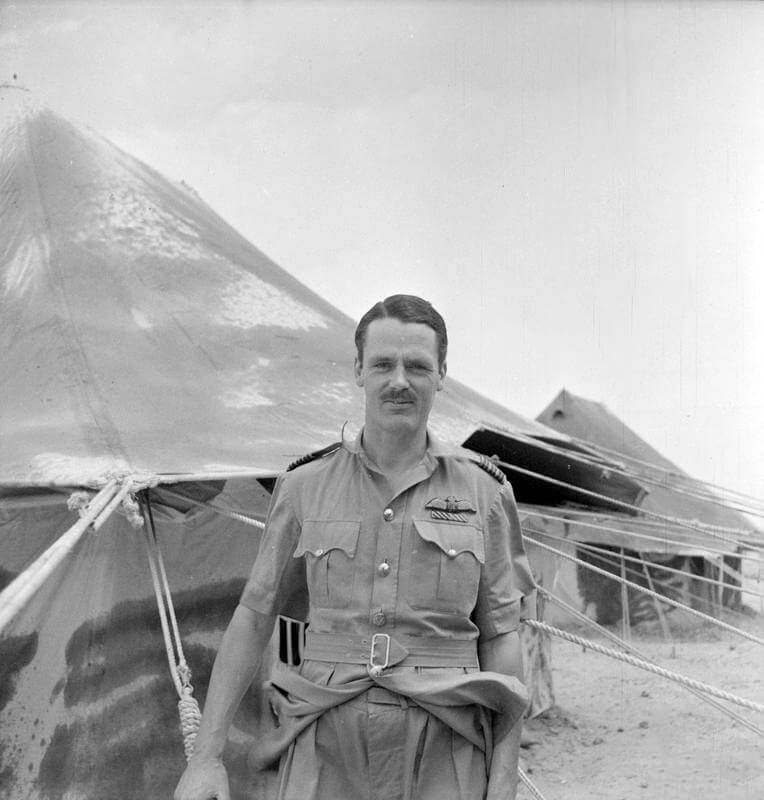
L Detachment, Special Air Service Brigade undergoing parachute training at Kabrit, Egypt in July 1941. |
![](https://worldwar2-sof.com/wp-content/uploads/2023/11/sas-jump-training-1.jpg)
![](https://worldwar2-sof.com/wp-content/uploads/2023/11/sas-jump-training-11.jpg)
![](https://worldwar2-sof.com/wp-content/uploads/2023/11/sas-jump-training-17.jpg)
![](https://worldwar2-sof.com/wp-content/uploads/2023/11/sas-jump-training-2.jpg)
![](https://worldwar2-sof.com/wp-content/uploads/2023/11/sas-jump-training-8.jpg)
![](https://worldwar2-sof.com/wp-content/uploads/2023/11/sas-jump-training-19.jpg)
![](https://worldwar2-sof.com/wp-content/uploads/2023/11/sas-jump-training-16.jpg)
![](https://worldwar2-sof.com/wp-content/uploads/2023/11/sas-jump-training-7.jpg)
![](https://worldwar2-sof.com/wp-content/uploads/2023/11/sas-jump-training-13.jpg)
![](https://worldwar2-sof.com/wp-content/uploads/2023/11/sas-jump-training-10.jpg)
![](https://worldwar2-sof.com/wp-content/uploads/2023/11/sas-jump-training-5.jpg)
![](https://worldwar2-sof.com/wp-content/uploads/2023/11/sas-jump-training-12.jpg)
![](https://worldwar2-sof.com/wp-content/uploads/2023/11/sas-jump-training-4.jpg)
![](https://worldwar2-sof.com/wp-content/uploads/2023/11/sas-jump-training-6.jpg)
![](https://worldwar2-sof.com/wp-content/uploads/2023/11/sas-jump-training-14-1.jpg)
![](https://worldwar2-sof.com/wp-content/uploads/2023/11/sas-jump-training-15.jpg)
![](https://worldwar2-sof.com/wp-content/uploads/2023/11/sas-jump-training-9.jpg)
![](https://worldwar2-sof.com/wp-content/uploads/2023/11/sas-jump-training-18.jpg)
![](https://worldwar2-sof.com/wp-content/uploads/2023/11/sas-jump-training-20.jpg)
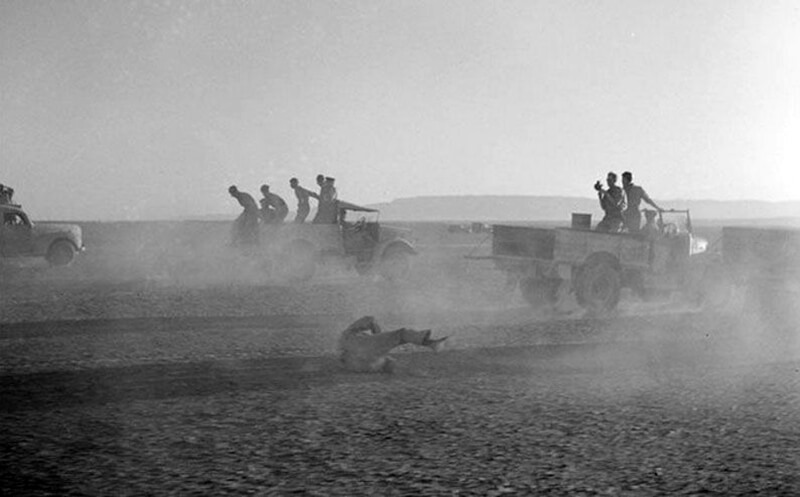
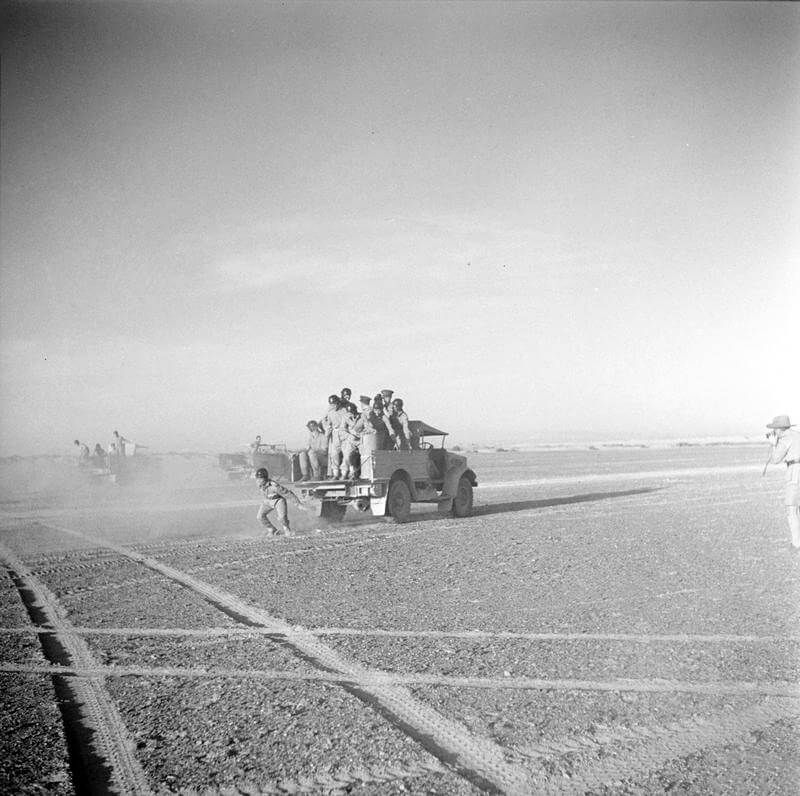
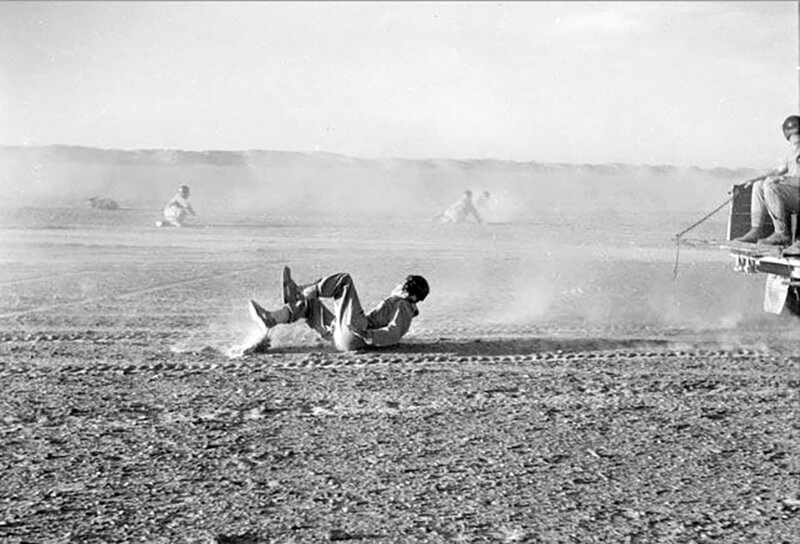
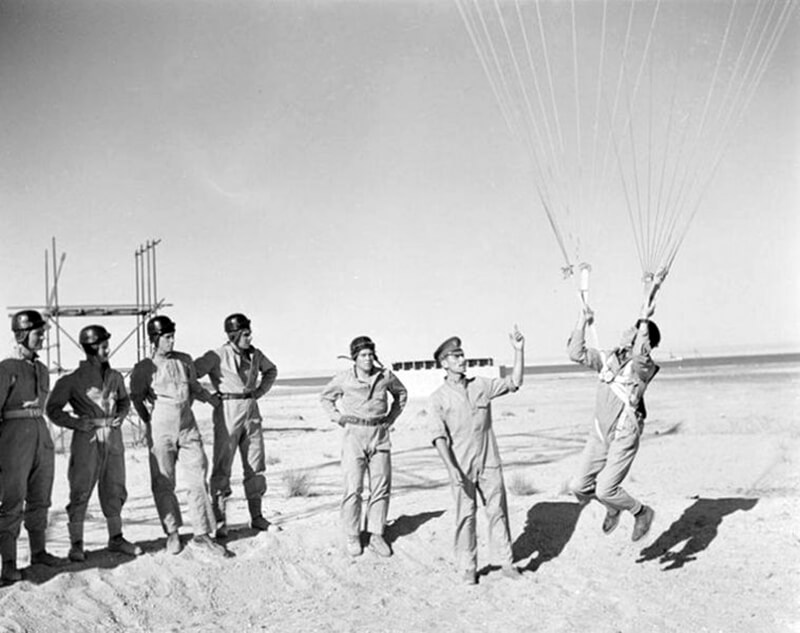
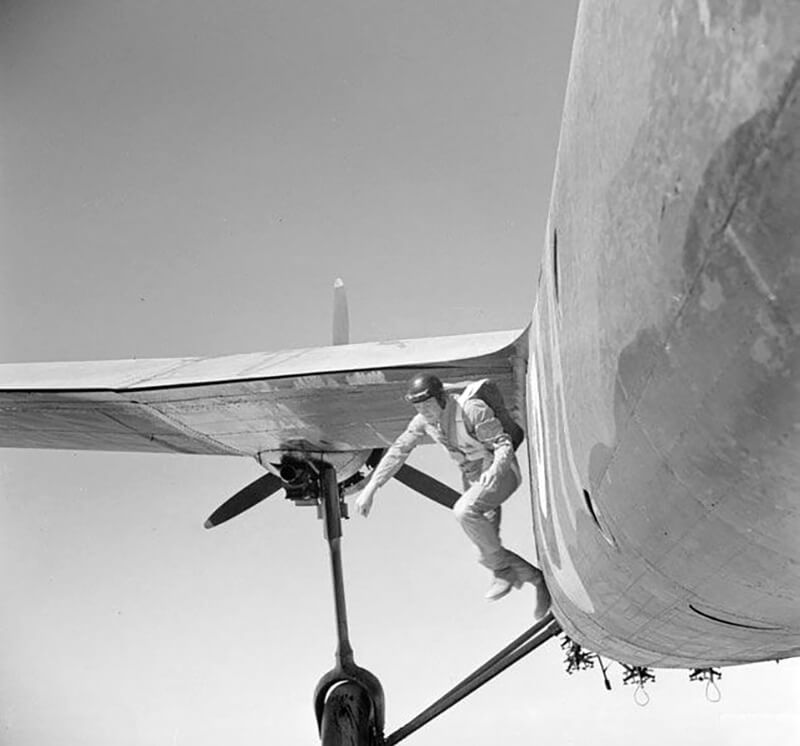
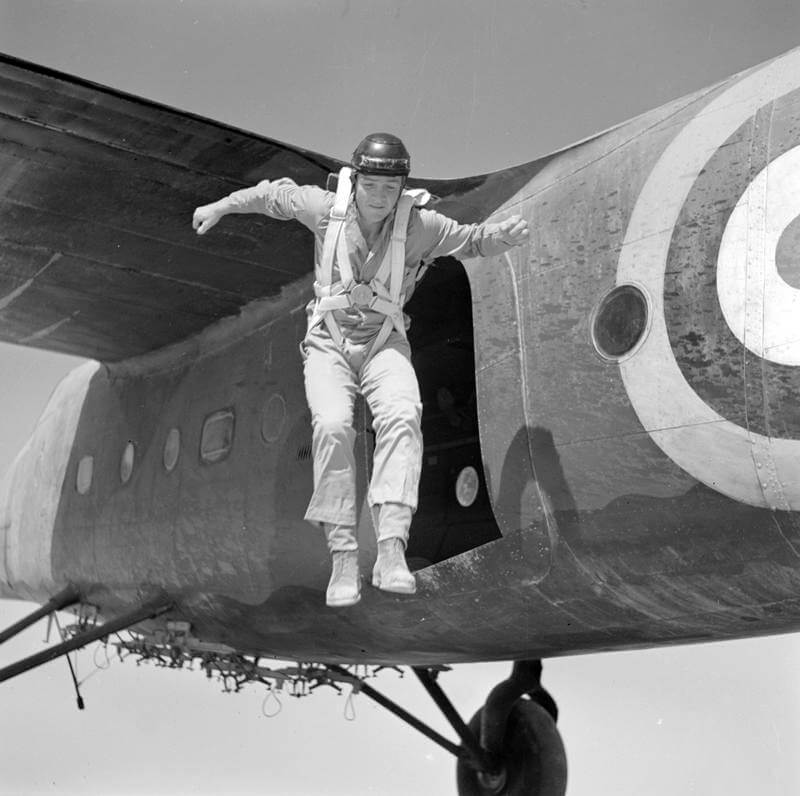
Cecil Beaton Collection |
![](https://worldwar2-sof.com/wp-content/uploads/2024/03/cecil-beaton-1.jpg)
![](https://worldwar2-sof.com/wp-content/uploads/2024/03/cecil-beaton-8.jpg)
![](https://worldwar2-sof.com/wp-content/uploads/2024/03/cecil-beaton-3.jpg)
![](https://worldwar2-sof.com/wp-content/uploads/2024/03/cecil-beaton-5.jpg)
![](https://worldwar2-sof.com/wp-content/uploads/2024/03/cecil-beaton-9.jpg)
![](https://worldwar2-sof.com/wp-content/uploads/2024/03/cecil-beaton-2.jpg)
![](https://worldwar2-sof.com/wp-content/uploads/2024/03/cecil-beaton-4.jpg)
![](https://worldwar2-sof.com/wp-content/uploads/2024/03/cecil-beaton-6.jpg)
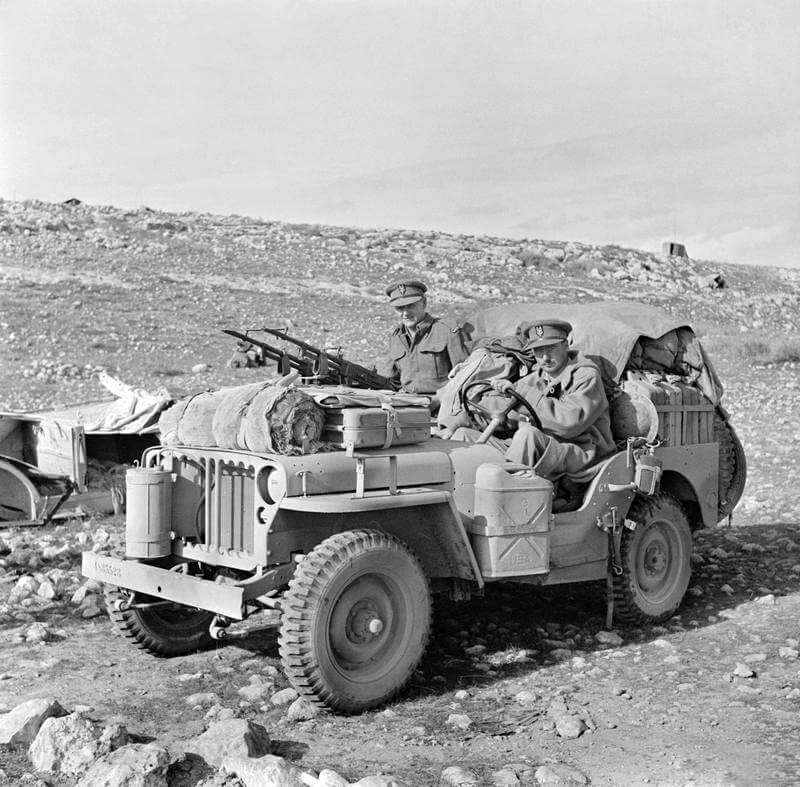
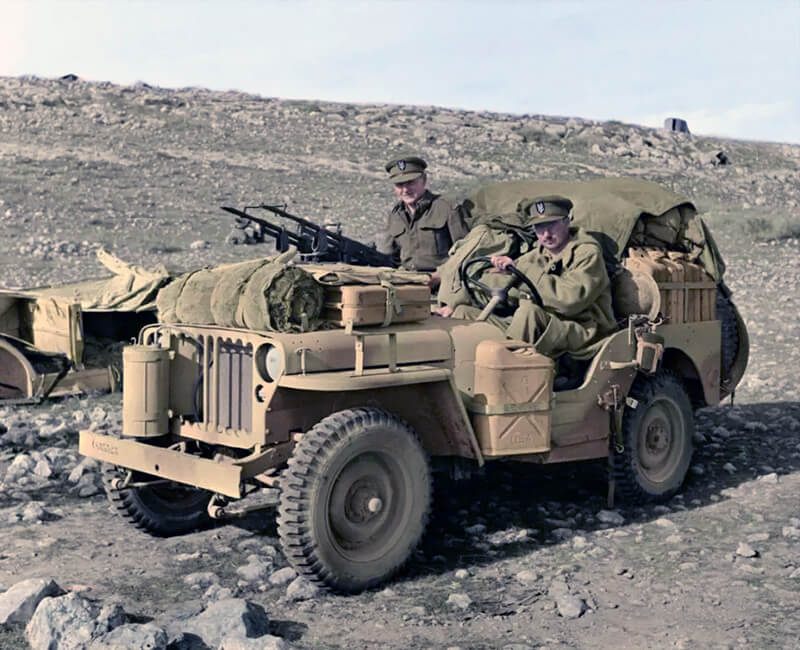
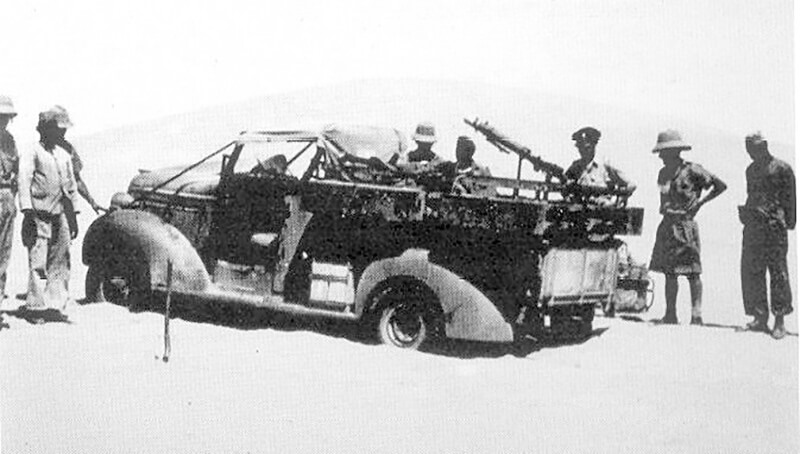
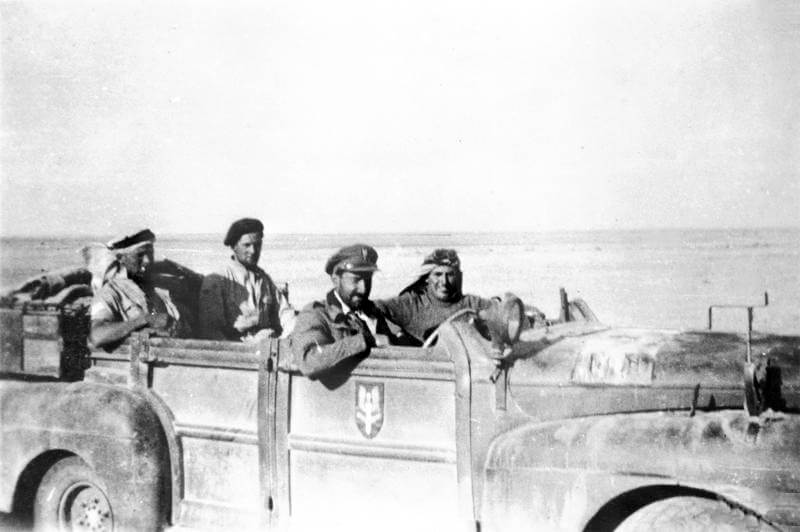
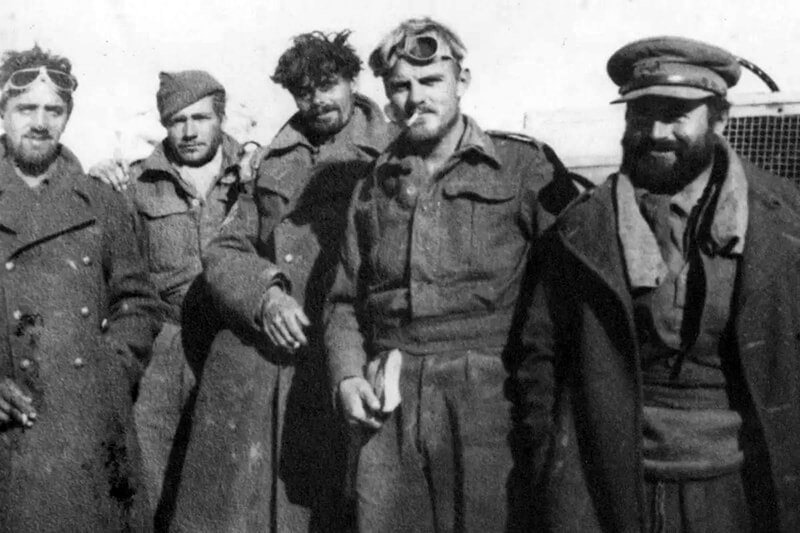
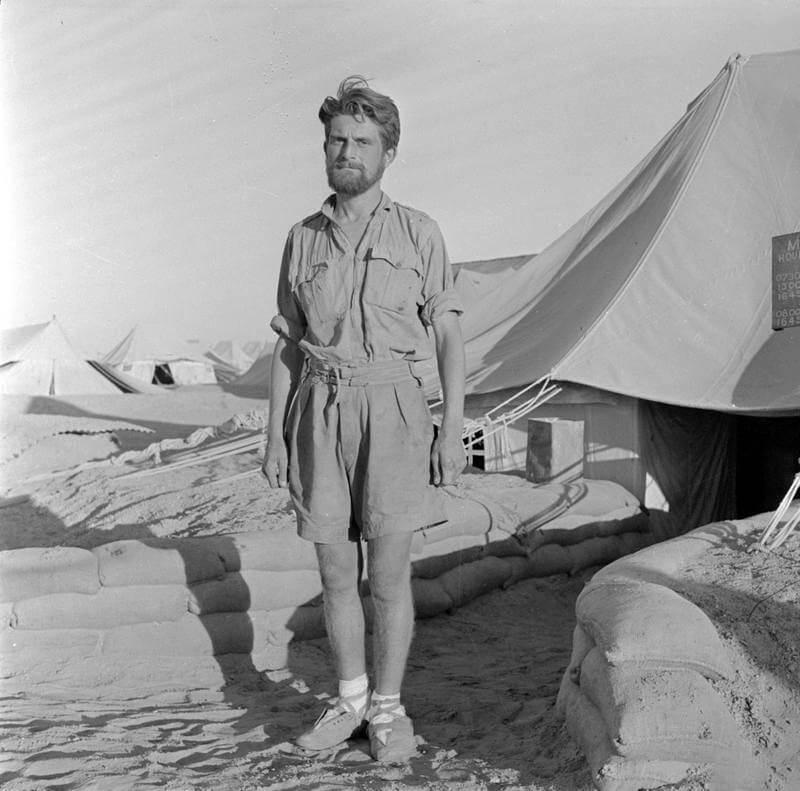
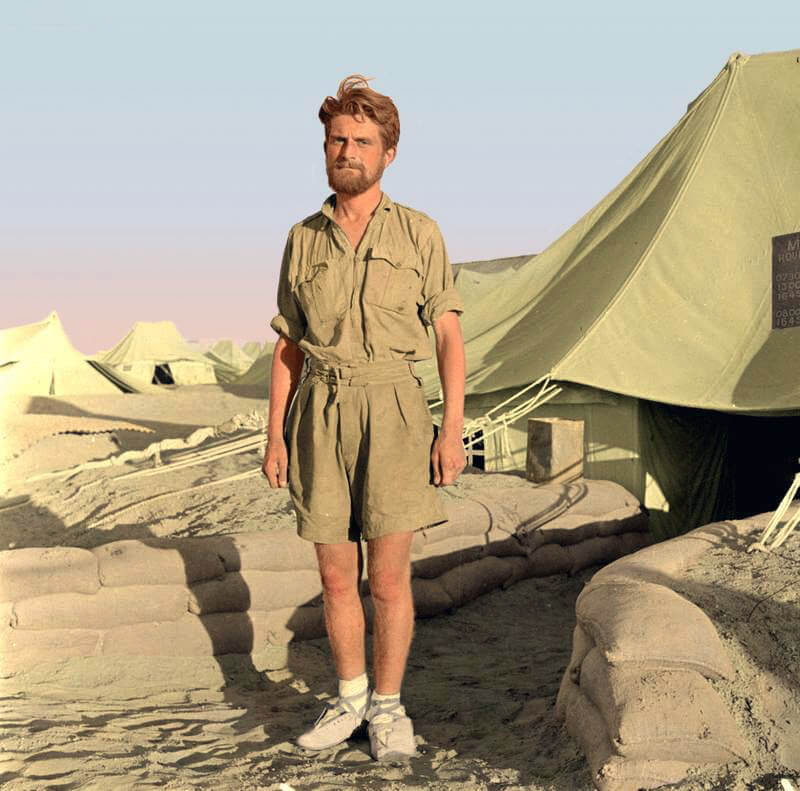
Desert Raiders, January 18th, 1943 |
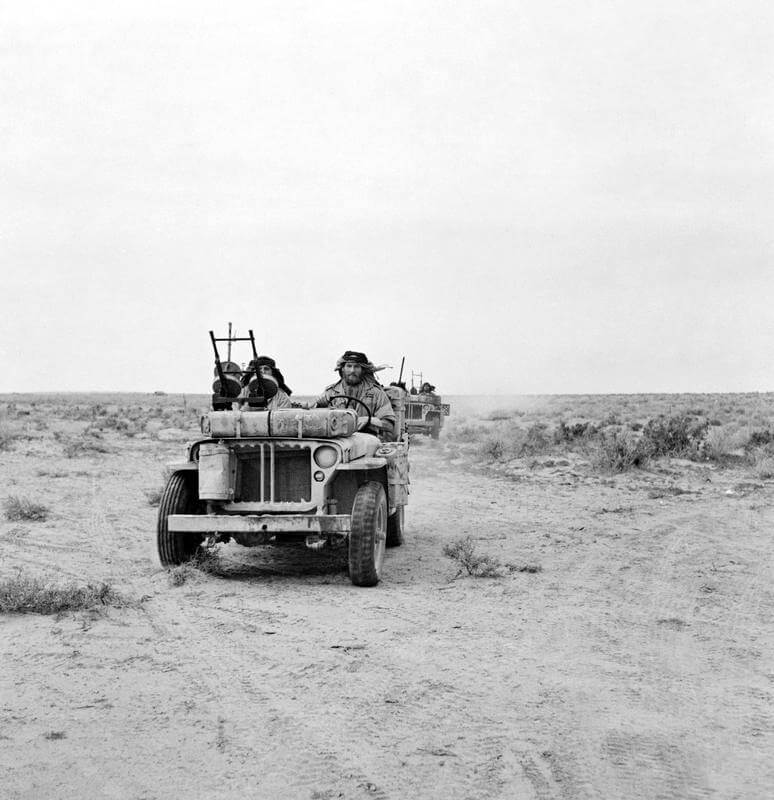
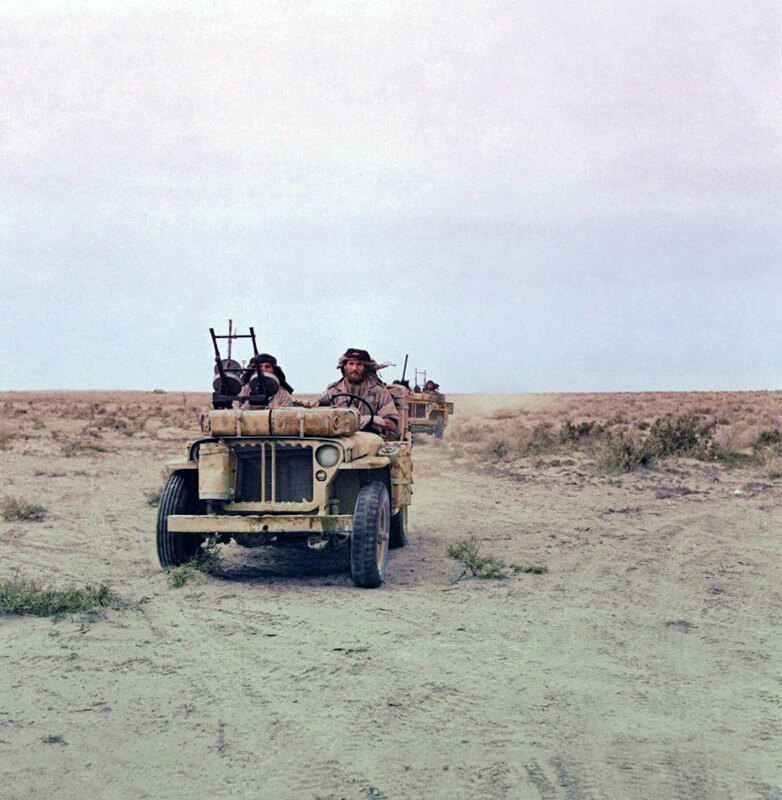
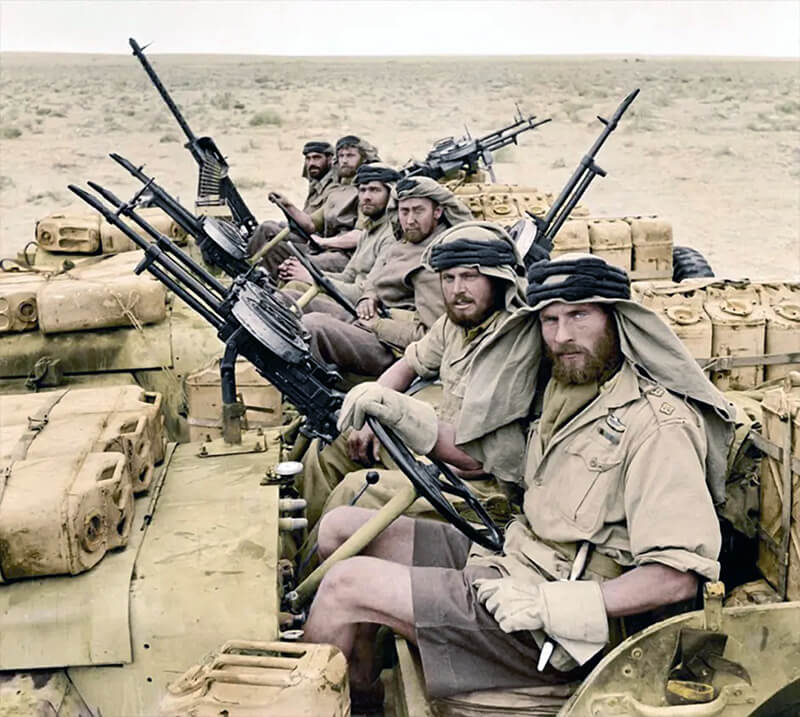
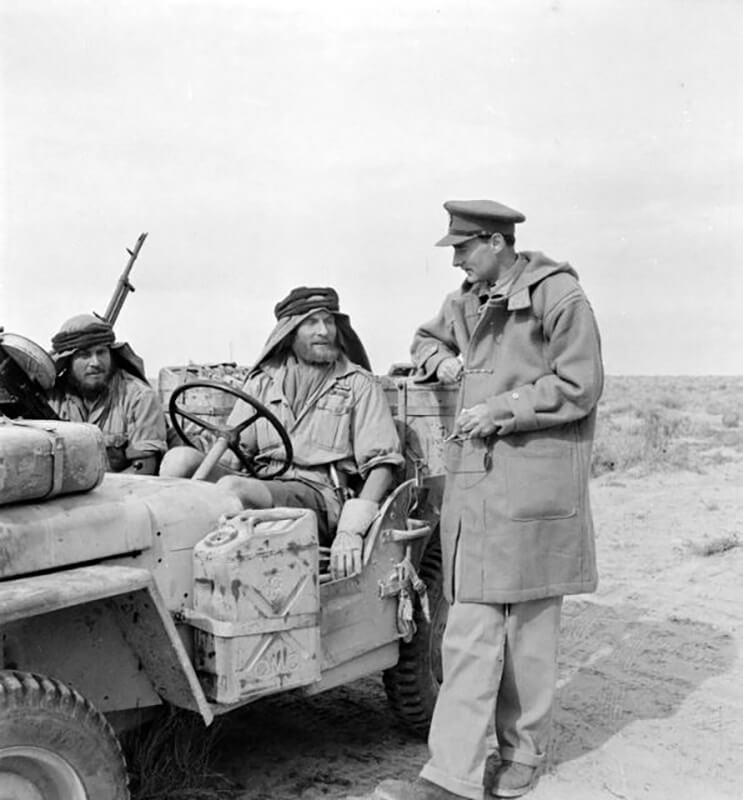
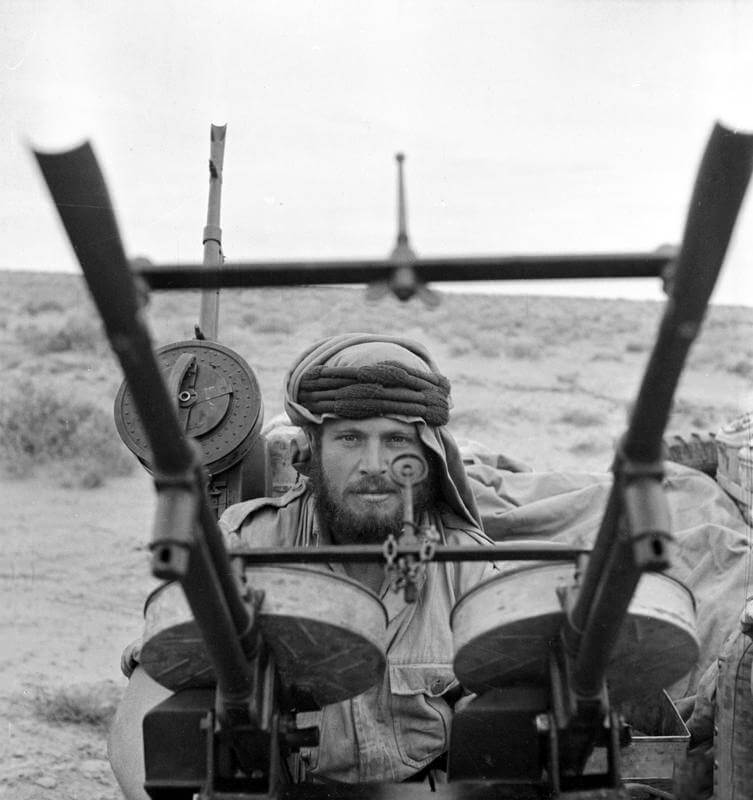
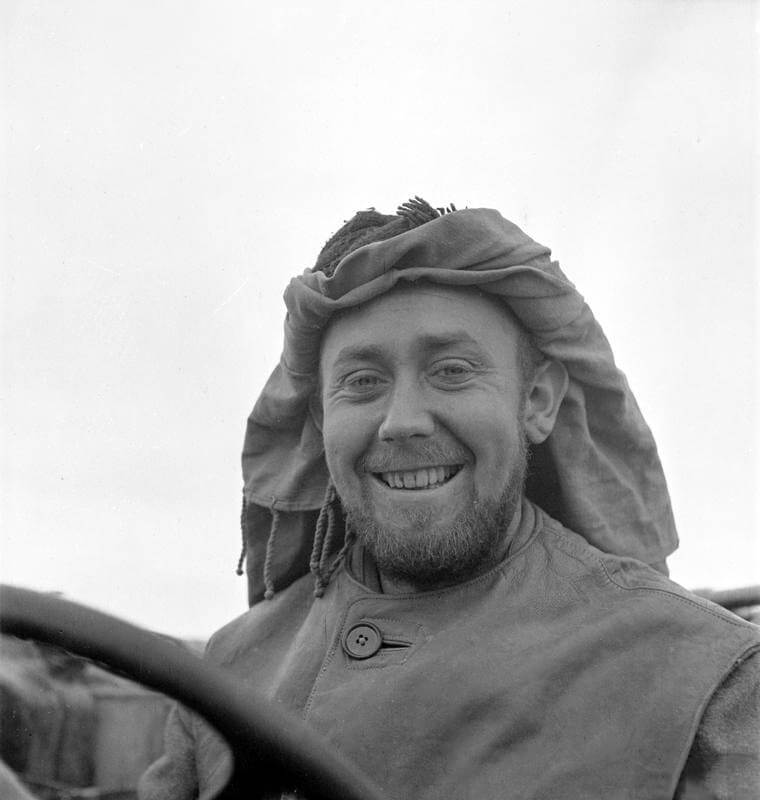
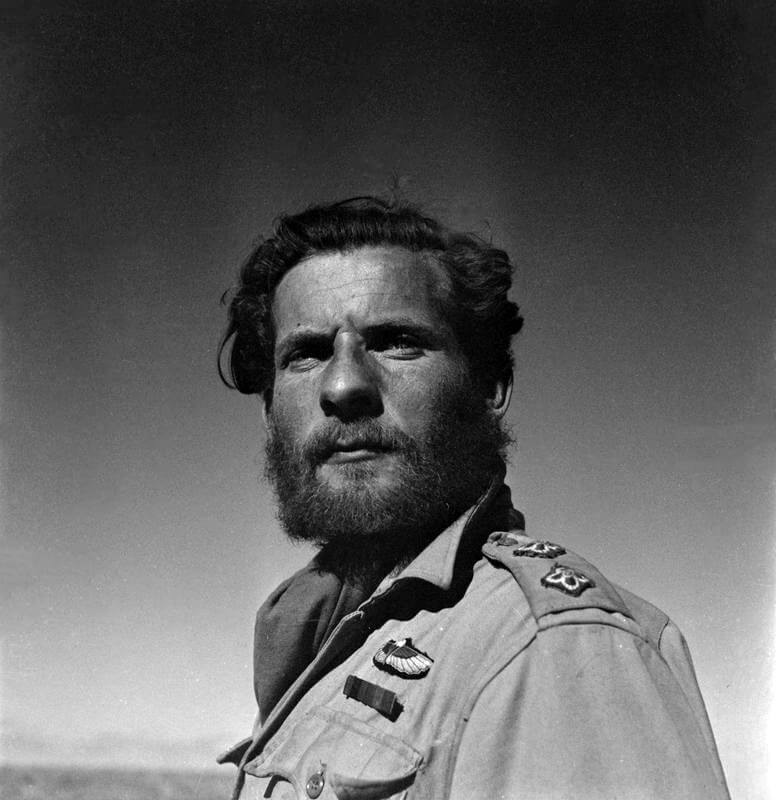
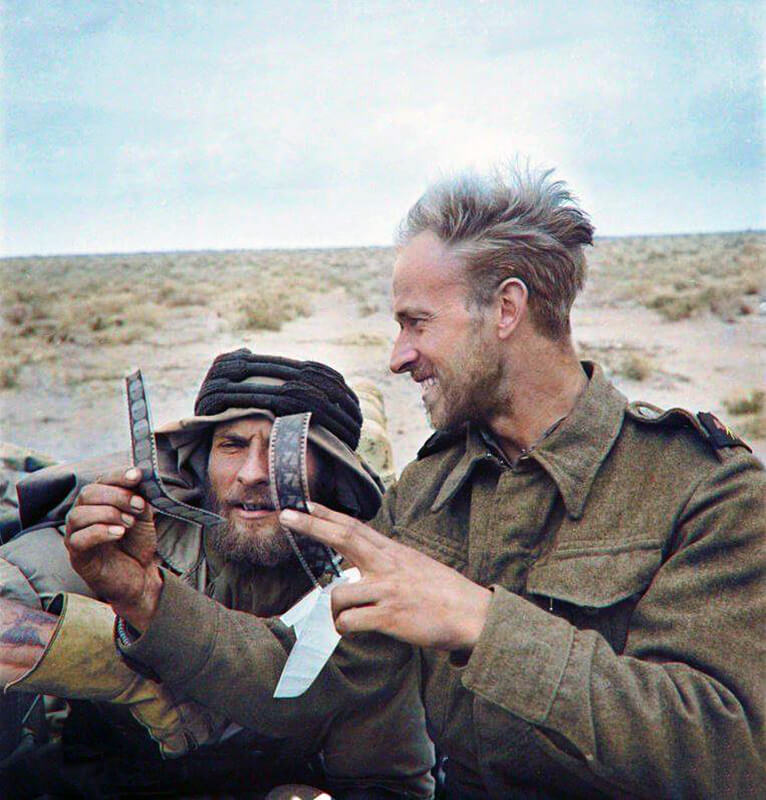
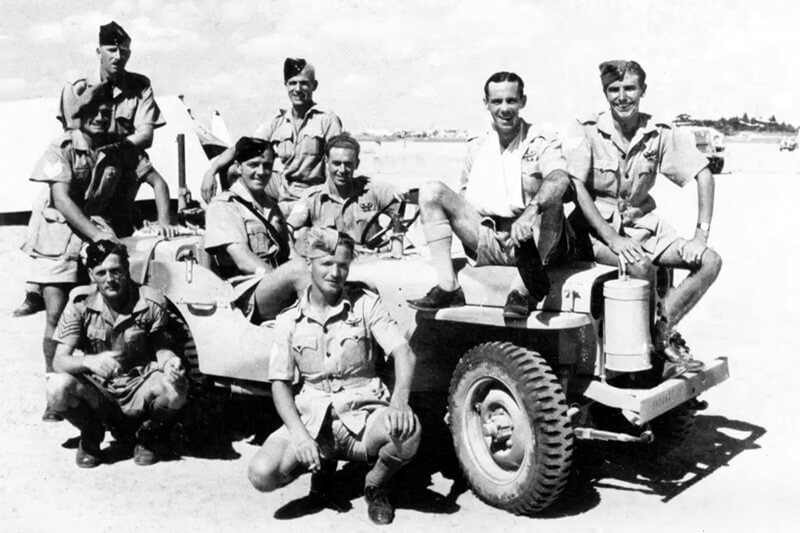
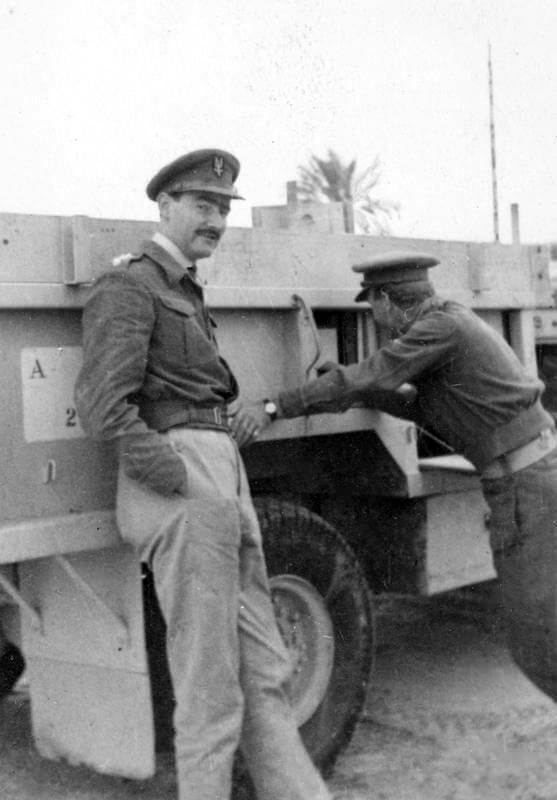
![](https://worldwar2-sof.com/wp-content/uploads/2023/11/sas-david-stirling.jpg)
![](https://worldwar2-sof.com/wp-content/uploads/2024/02/david-stirling.jpg)
![](https://worldwar2-sof.com/wp-content/uploads/2023/11/sas-desert-raiders-1.jpg)
![](https://worldwar2-sof.com/wp-content/uploads/2024/02/TWOMEM1.jpg)
![](https://worldwar2-sof.com/wp-content/uploads/2023/11/sas-desert-raiders-2.jpg)
![](https://worldwar2-sof.com/wp-content/uploads/2024/02/North-Africa-1943-Jeep.jpg)
![](https://worldwar2-sof.com/wp-content/uploads/2023/11/sas-desert-raiders-3.jpg)
![](https://worldwar2-sof.com/wp-content/uploads/2024/02/North-Africa.jpg)
![Lieutenant Colonel David Stirling officer commanding the SAS in the Middle East talking to Patrol Commander Lieutenant McDonald.](https://worldwar2-sof.com/wp-content/uploads/2023/11/sas-desert-raiders-5.jpg)
![](https://worldwar2-sof.com/wp-content/uploads/2024/02/david-stirling-desert-patrol.jpg)
![](https://worldwar2-sof.com/wp-content/uploads/2023/11/sas-desert-raiders-4.jpg)
![Desert Rats (E 21342) Cpl. Bill Kennedy, of the Royal Scots Greys, at his post in one of the small patrol cars. Copyright: © IWM. Original Source: http://www.iwm.org.uk/collections/item/object/205381525](https://worldwar2-sof.com/wp-content/uploads/2024/03/sas-desert-raiders-13.jpg)
![Corporal John Henderson of the Scots Guards, originally from Glasgow.](https://worldwar2-sof.com/wp-content/uploads/2024/03/sas-desert-raiders-7.jpg)
![THE BRITISH ARMY IN NORTH AFRICA AND THE MIDDLE EAST 1940-1947 (E 21345) Original wartime caption: Men on these long distance patrols are allowed to grow beards, and a good deal of competition ensues. This is Cpl. David Goldie of the Scots Gaurds, from Dumpries. Copyright: © IWM. Original Source: http://www.iwm.org.uk/collections/item/object/205629102](https://worldwar2-sof.com/wp-content/uploads/2024/03/sas-desert-raiders-9.jpg)
![THE BRITISH ARMY IN NORTH AFRICA AND THE MIDDLE EAST 1940-1947 (E 21346) Original wartime caption: Cpl. John Henderson, from Glasgow, of the Scots Guards. Copyright: © IWM. Original Source: http://www.iwm.org.uk/collections/item/object/205629103](https://worldwar2-sof.com/wp-content/uploads/2024/03/sas-desert-raiders-8.jpg)
![DESERT RATS (E 21347) PTE Malcom Mackinnon Copyright: © IWM. Original Source: http://www.iwm.org.uk/collections/item/object/205381524](https://worldwar2-sof.com/wp-content/uploads/2024/03/sas-desert-raiders-11.jpg)
![Desert Rats (E 21348) Cpl. James McDiarmid, of the Black Watch, comes from Perth. He believes in full cultivation as far as beards are concerned. Copyright: © IWM. Original Source: http://www.iwm.org.uk/collections/item/object/205381526](https://worldwar2-sof.com/wp-content/uploads/2024/03/sas-desert-raiders-12.jpg)
![THE BRITISH ARMY IN NORTH AFRICA AND THE MIDDLE EAST 1940-1947 (E 21344) Original wartime caption: The proper dress for the deep desert life - bus shirt, shorts, sandals, socks rolled down, bare head or covered by Arab headdress. Copyright: © IWM. Original Source: http://www.iwm.org.uk/collections/item/object/205629101](https://worldwar2-sof.com/wp-content/uploads/2024/03/sas-desert-raiders-10.jpg)
![Desert Rats (E 21349) Lieut. Edward McDonald, D.C.M. of the Cameron Highlanders comes from Edinburgh. He is 24 and the leader of one of the long range desert patrols. Copyright: © IWM. Original Source: http://www.iwm.org.uk/collections/item/object/205381527](https://worldwar2-sof.com/wp-content/uploads/2024/03/lieutant-edward-mcdonald.jpg)
![DESERT RATS (E 21350) A cine-cameraman of the Army film and photo Unit accompanies the patrols to photograph their activities. He is seen here showing a bit of film to the patrol commander Copyright: © IWM. Original Source: http://www.iwm.org.uk/collections/item/object/205234398](https://worldwar2-sof.com/wp-content/uploads/2024/03/North-Africa-1943-b.jpg)
![](https://worldwar2-sof.com/wp-content/uploads/2024/02/North-Africa-1943.jpg)
Desert Life |
![](https://worldwar2-sof.com/wp-content/uploads/2024/03/lrdg-vehicle-1.jpg)
![LONG RANGE DESERT GROUP (HU 69884) David Stirling in his Chevrolet truck ('Blitz-buggy') with three SAS personnel (all Corporals). From left to right: Seekings, Rose and Cooper. Photograph taken in May 1942 at Bir Hacheim Copyright: © IWM. Original Source: http://www.iwm.org.uk/collections/item/object/205046857](https://worldwar2-sof.com/wp-content/uploads/2024/03/sas-desert-raiders-15.jpg)
![Special Air Service in 1941 with officers, Lieutenant David Stirling and Jock Lewes.](https://worldwar2-sof.com/wp-content/uploads/2024/03/sas-desert-raiders-20.jpg)
![](https://worldwar2-sof.com/wp-content/uploads/2024/03/sas-desert-raiders-16.jpg)
![Trooper Jeffs, Charlie Cattell, Bob Lilley, Malcolm Pleydell and Johnny Wiseman.](https://worldwar2-sof.com/wp-content/uploads/2024/03/sas-desert-raiders-17.jpg)
![](https://worldwar2-sof.com/wp-content/uploads/2024/03/sas-desert-raiders-18.jpg)
![](https://worldwar2-sof.com/wp-content/uploads/2024/03/sas-desert-raiders-19.jpg)
![](https://worldwar2-sof.com/wp-content/uploads/2023/11/sas-paddy-maine.jpg)
![Official photograph (HU 24994) David Stirling (Officer Commanding Special Air Service) and Don Steele A Squadron W/T Long Range Desert Group. Copyright: © IWM. Original Source: http://www.iwm.org.uk/collections/item/object/205234416](https://worldwar2-sof.com/wp-content/uploads/2024/03/lrdg-sas.jpg)
![THE SPECIAL AIR SERVICE (SAS) IN NORTH AFRICA DURING THE SECOND WORLD WAR (E 19781) A full length portrait of Corporal T Sillito, who was a member of a four-man SAS patrol tasked to blow up the rail line in the enemy's rear, just before the offensive at El Alamein. After a firefight with the enemy, Sillito got separated from the rest of his group, and set out to walk the 100 miles back to the British lines, without food or water, a gruelling week-long experience which he only jus... Copyright: © IWM. Original Source: http://www.iwm.org.uk/collections/item/object/205125570](https://worldwar2-sof.com/wp-content/uploads/2024/03/sas-desert-raiders-14.jpg)
![](https://worldwar2-sof.com/wp-content/uploads/2024/02/72218165_2337467073049738_2448943348057112576_n.jpg)
![A collapsible canoe like was used by the SAS during raids against shipping in Benghazi harbour in 1942.](https://worldwar2-sof.com/wp-content/uploads/2024/03/sas-canoe-1.jpg)
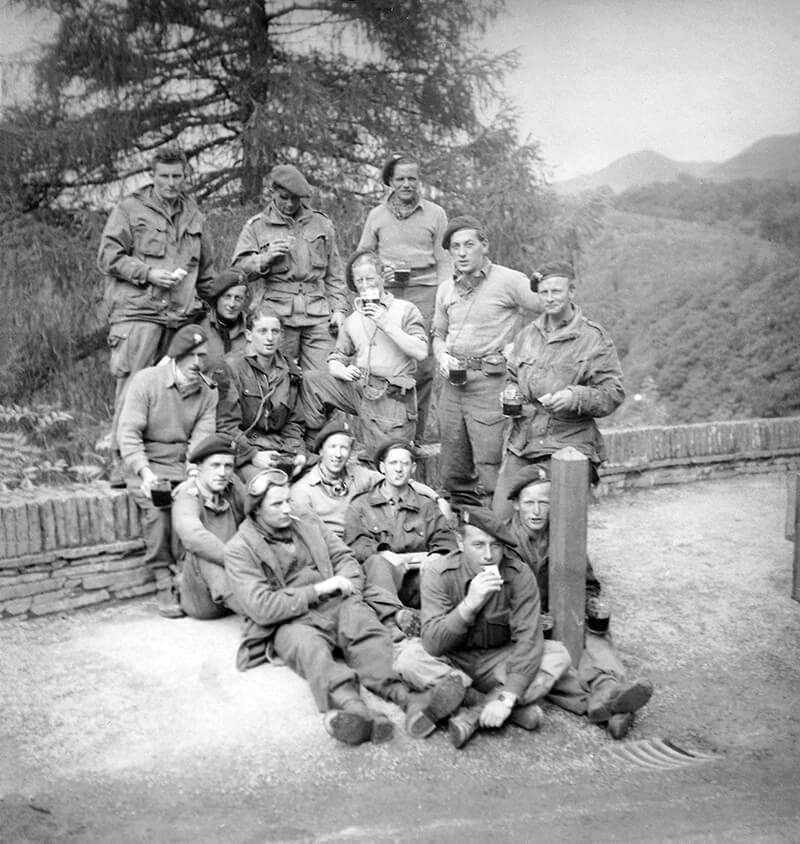
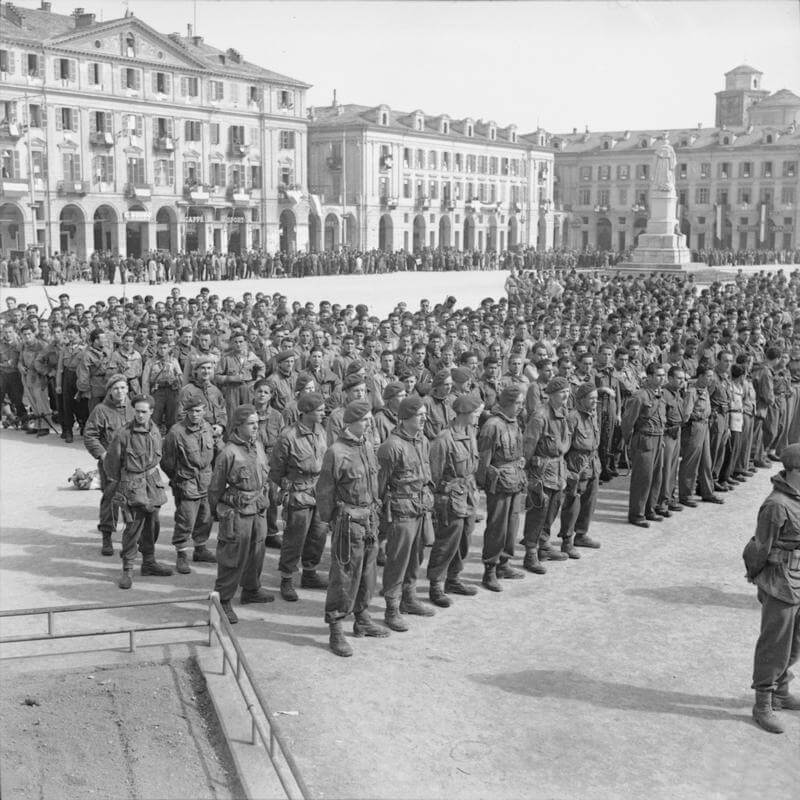
Special Air Service on Parade |
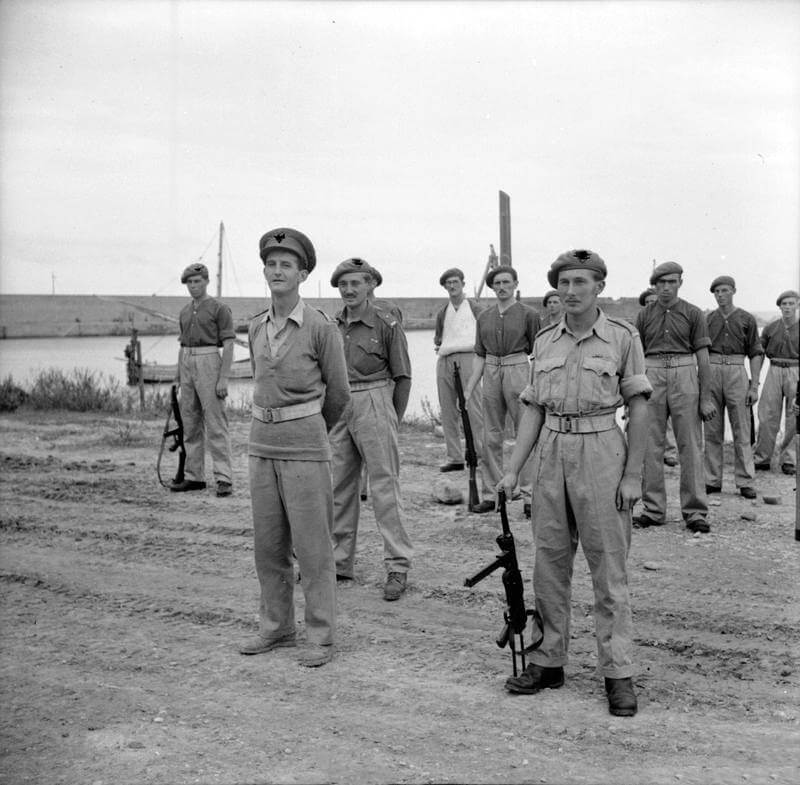
![](https://worldwar2-sof.com/wp-content/uploads/2023/11/sas-parade.jpg)
![](https://worldwar2-sof.com/wp-content/uploads/2023/11/sas-parade-1.jpg)
![](https://worldwar2-sof.com/wp-content/uploads/2023/11/sas-parade-1945.jpg)
France |
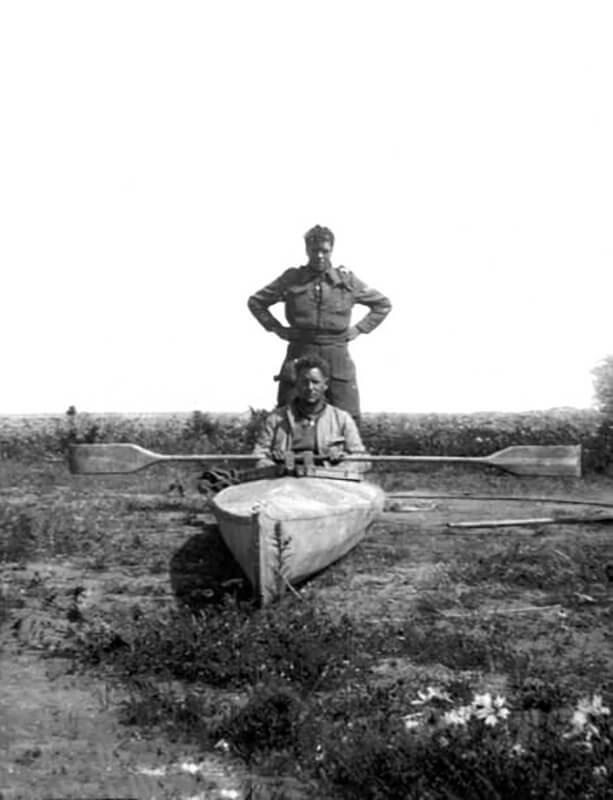
Unidentified Pictures |
![Group of Special Air Service soldiers during a rest period in operations somewhere in Europe.](https://worldwar2-sof.com/wp-content/uploads/2024/03/sas-unidentified-1.jpeg)